Mastering GPT Image 1.5 High Fidelity: Why Your AI Visuals Look Pro Now
The era of "glitchy" AI art is over. For a long time, generating images meant accepting a certain level of chaos—distorted features, blurry backgrounds, or that unmistakable "plastic" sheen. But for designers and content creators, "good enough" is no longer acceptable. You need visuals that don't just look like AI; you need visuals that look like photography.
The release of the GPT Image 1.5 high fidelity model marks a decisive turning point. It isn't just a minor update; it is a complete overhaul of how we define visual quality in generative AI. Whether you are chasing the crisp detail of 4K resolution or the nuanced lighting of a professional studio shoot, the technology has finally caught up to your imagination.
If you have been searching for ChatGPT Image latest high fidelity capabilities that can handle complex prompts without sacrificing detail, you have found the new standard. In this guide, we will explore how this engine bridges the gap between digital generation and professional design, ensuring every pixel looks intentional.
The "Fidelity" Difference: What Does It Actually Mean?
When we talk about GPT Image 1.5 high fidelity, we are referring to a specific leap in texture density and coherence. In earlier models, asking for a "forest" might give you green blobs. In this latest iteration, high fidelity means:
- Texture Reality: You can see the weave of a fabric, the individual veins on a leaf, or the subtle imperfections in skin texture.
- Semantic Adherence: The model listens to your prompt more strictly. If you ask for a specific parrot on a specific shoulder, it understands the physical relationship between those two objects.
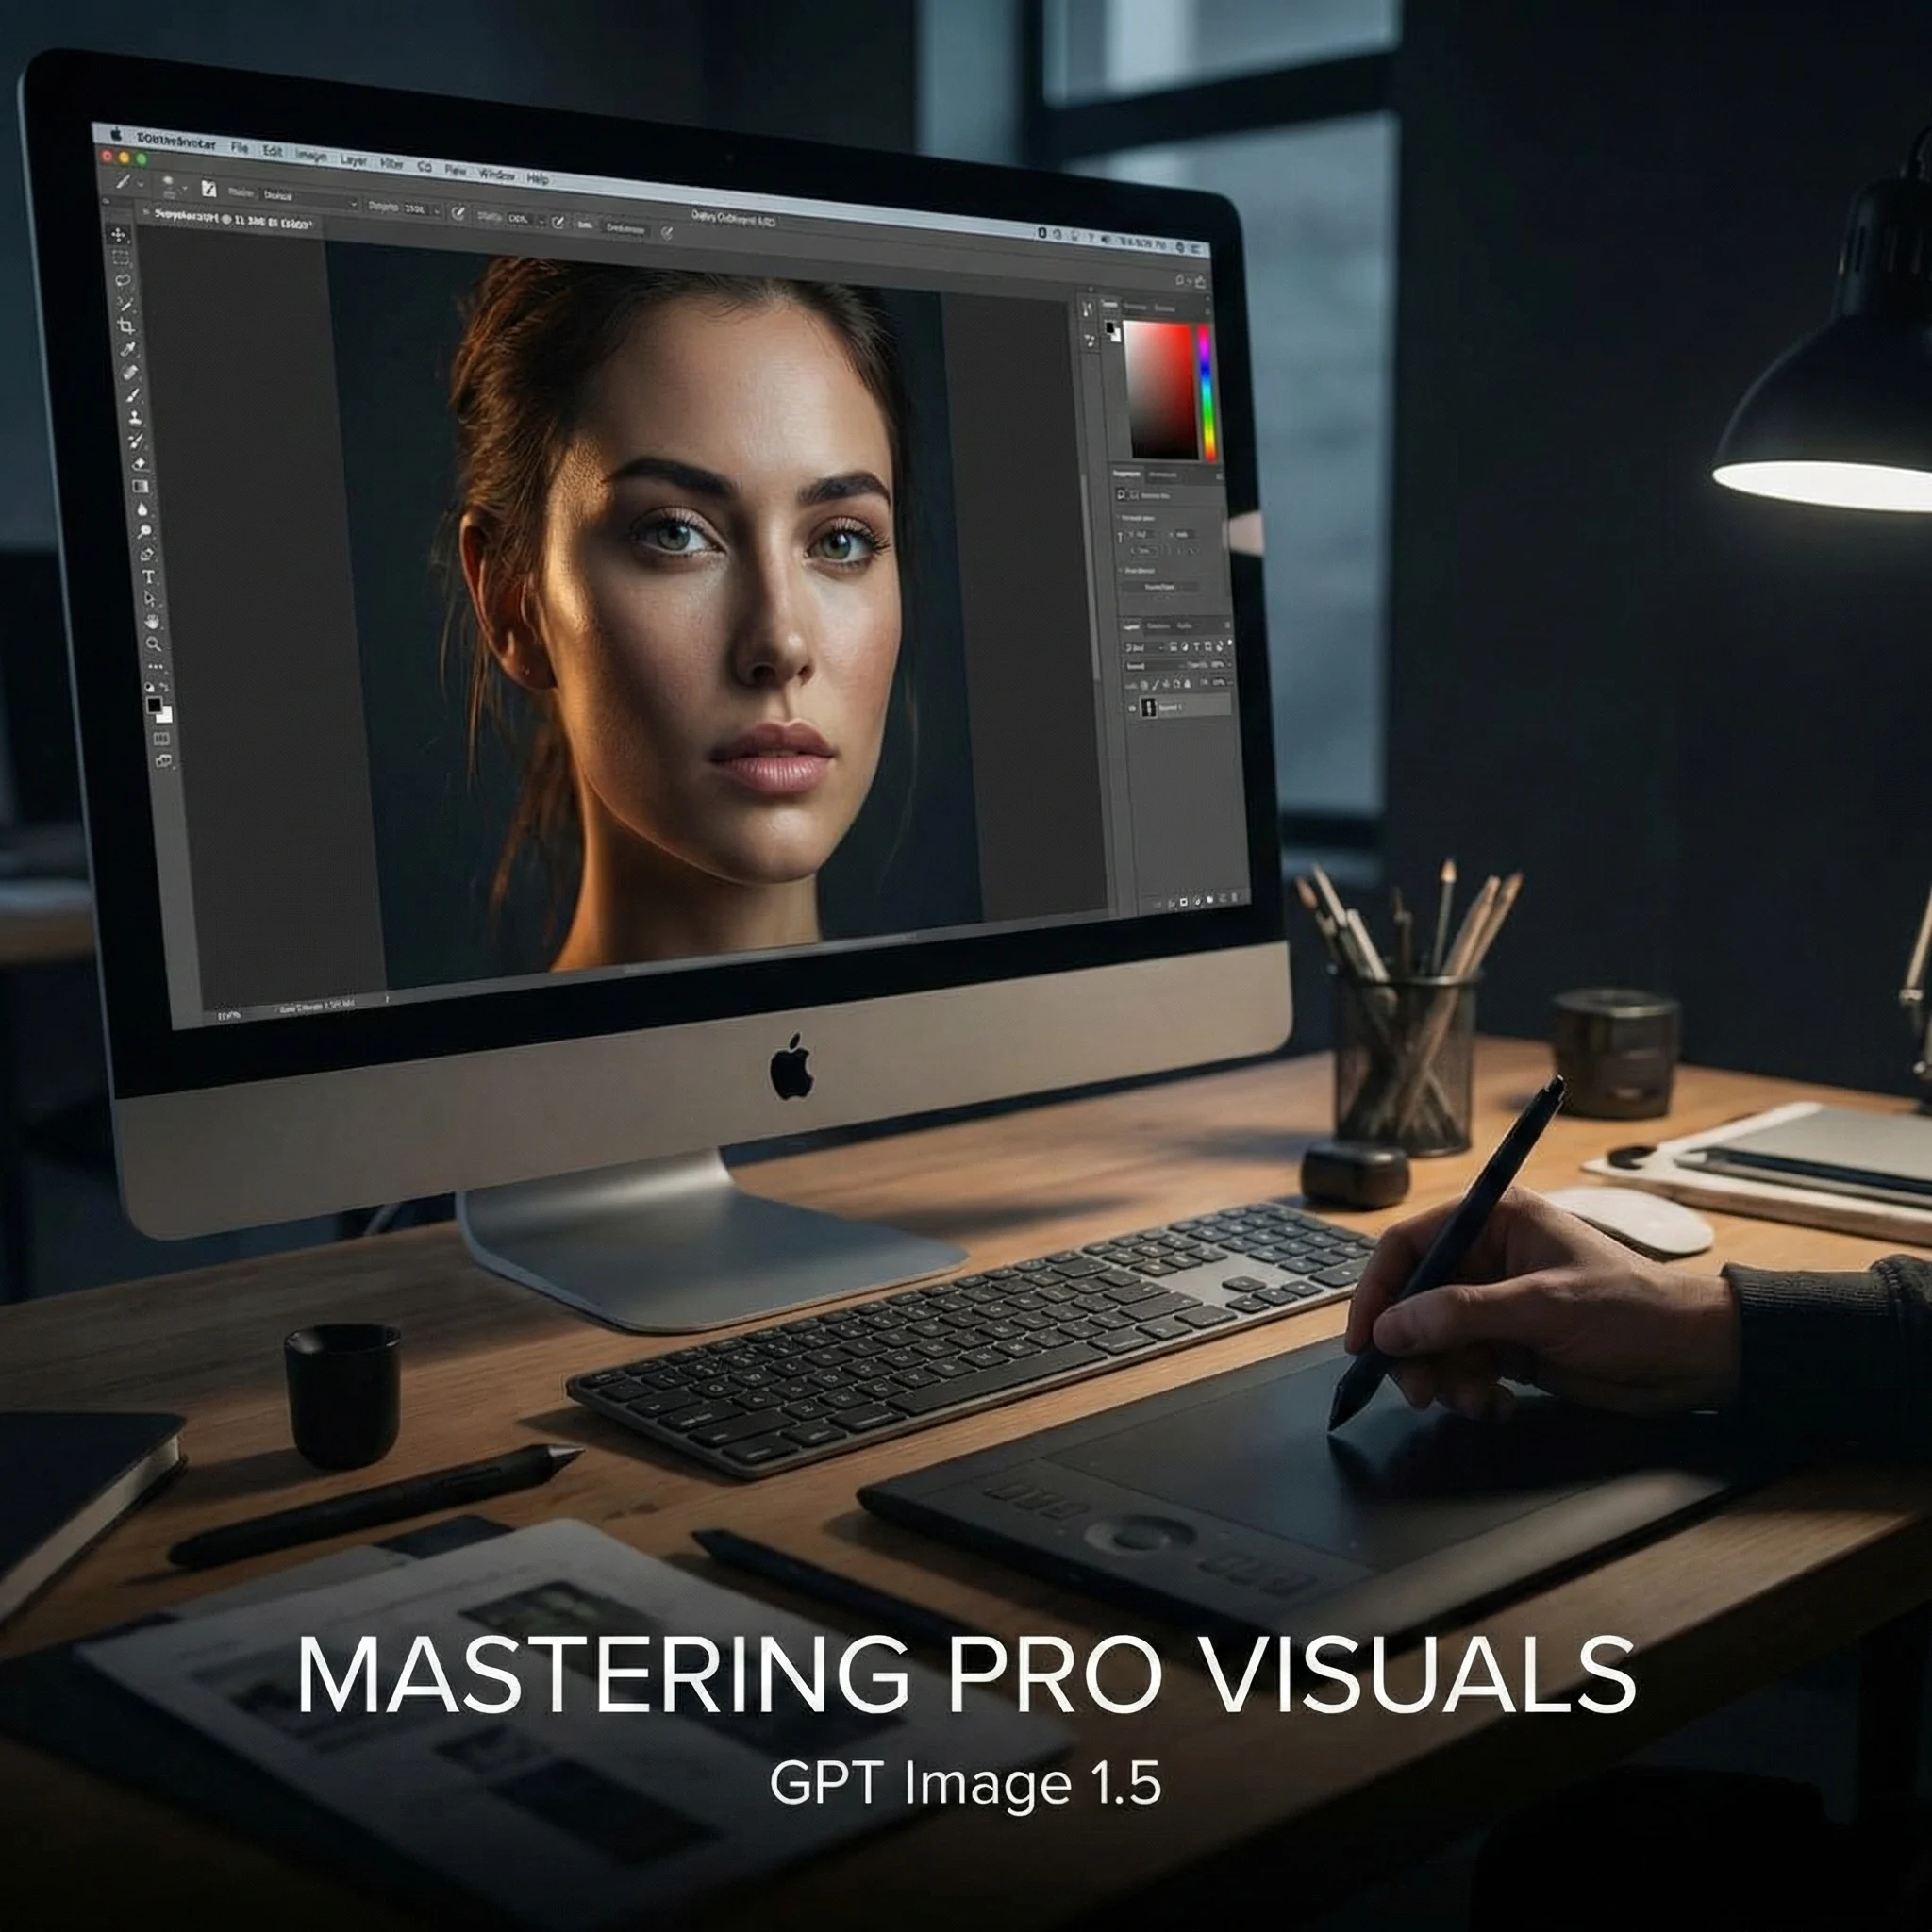
 (Beyond "Good Enough." GPT Image 1.5 High Fidelity delivers cinematic, photorealistic visuals.)
Feature Deep Dive: Control is King
The infrastructure behind GPT Image 1.5 is designed for power users who need granular control over the creative process. It moves beyond simple text-to-pixel conversion to offer a robust set of design capabilities. Let’s break down why the specific features inherent to this model matter for your workflow.
1. Unmatched Visual Clarity
Most AI tools struggle with fine details. To get something print-ready or suitable for a website header, creators often had to rely on complex post-processing to fix blurry edges or muddy textures.
The GPT Image 1.5 high fidelity engine changes this. It delivers crystal-clear output directly from the generation process. This means:
- Sharp Edges: No more bleeding colors or undefined shapes.
- Rich Textures: From the fur of an animal to the grain of wood, the details are preserved with striking accuracy.
- Ready to Use: You get a finished, professional look instantly, eliminating the need for external editing tools to "fix" the image.
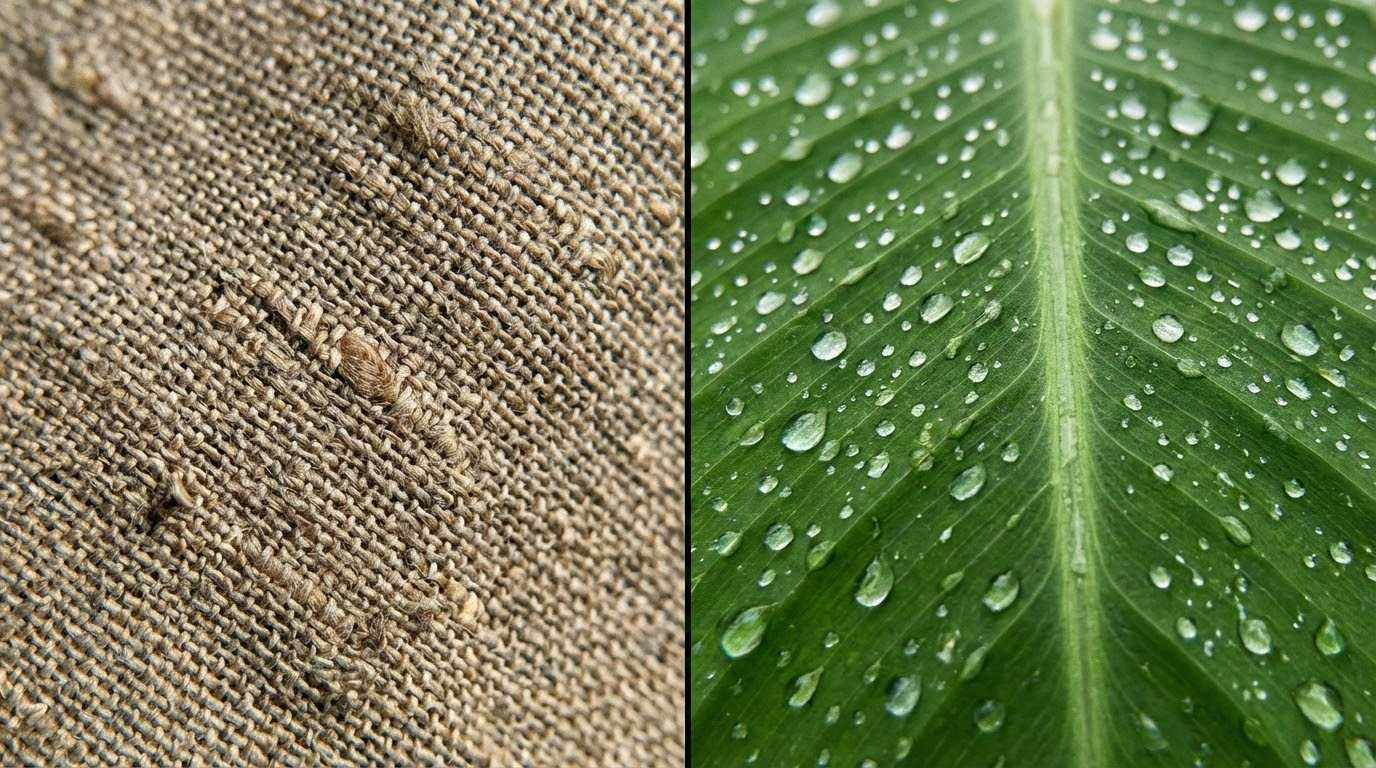 (Precision in Every Pixel. Native high fidelity mode renders organic details with razor-sharp clarity.)
2. The End of "Face Hallucination"
Perhaps the most frustrating aspect of AI art has been the "shapeshifting" protagonist. You generate a character you love, but in the next image, they look like a complete stranger.
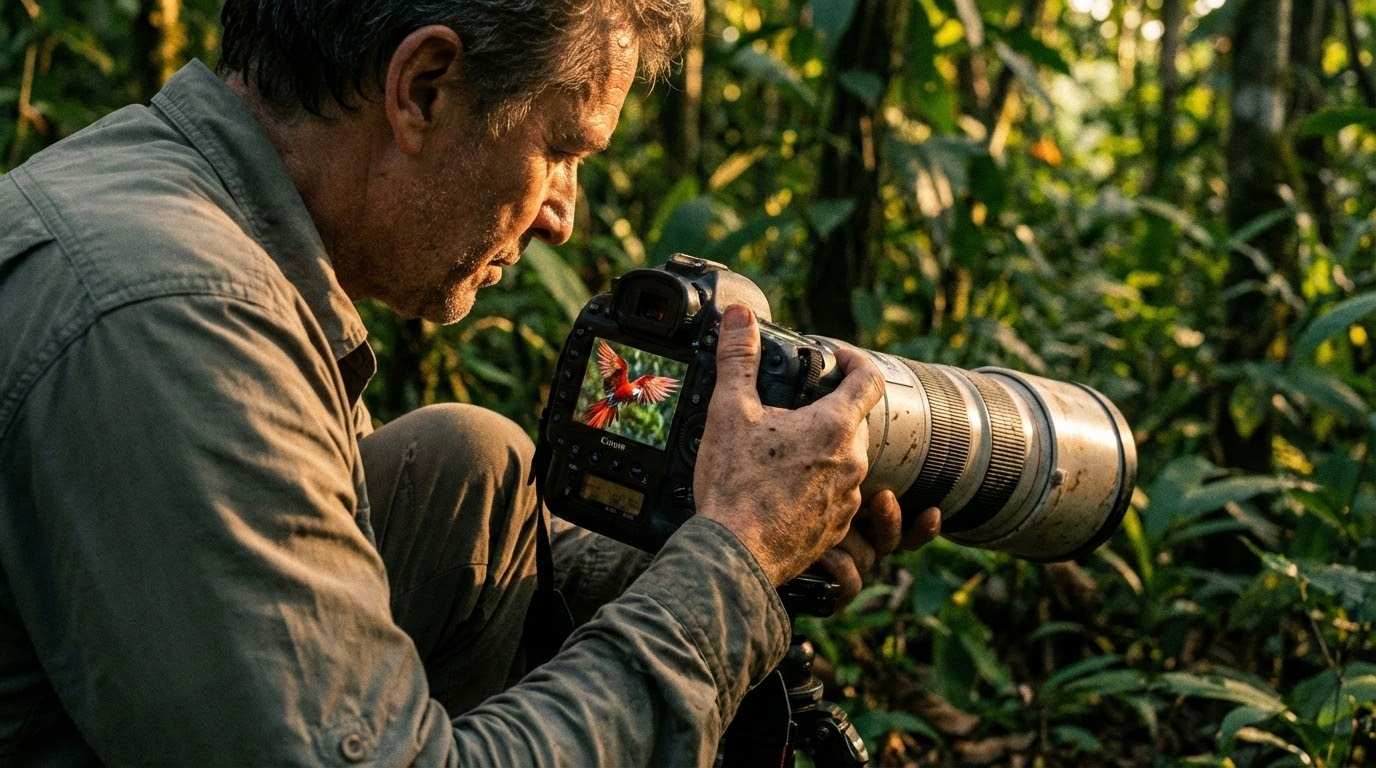
GPT Image 1.5 solves this with advanced reference capabilities. As seen in recent demonstrations (like the tropical forest example), the system allows you to upload a reference photo and instruct the engine to "keep the face 100% accurate."
Whether you are placing a subject in a sunny outdoor scene or a dimly lit room, GPT Image 1.5 anchors the facial landmarks. This feature is indispensable for brands and storytellers who need a consistent visual narrative across multiple shots.
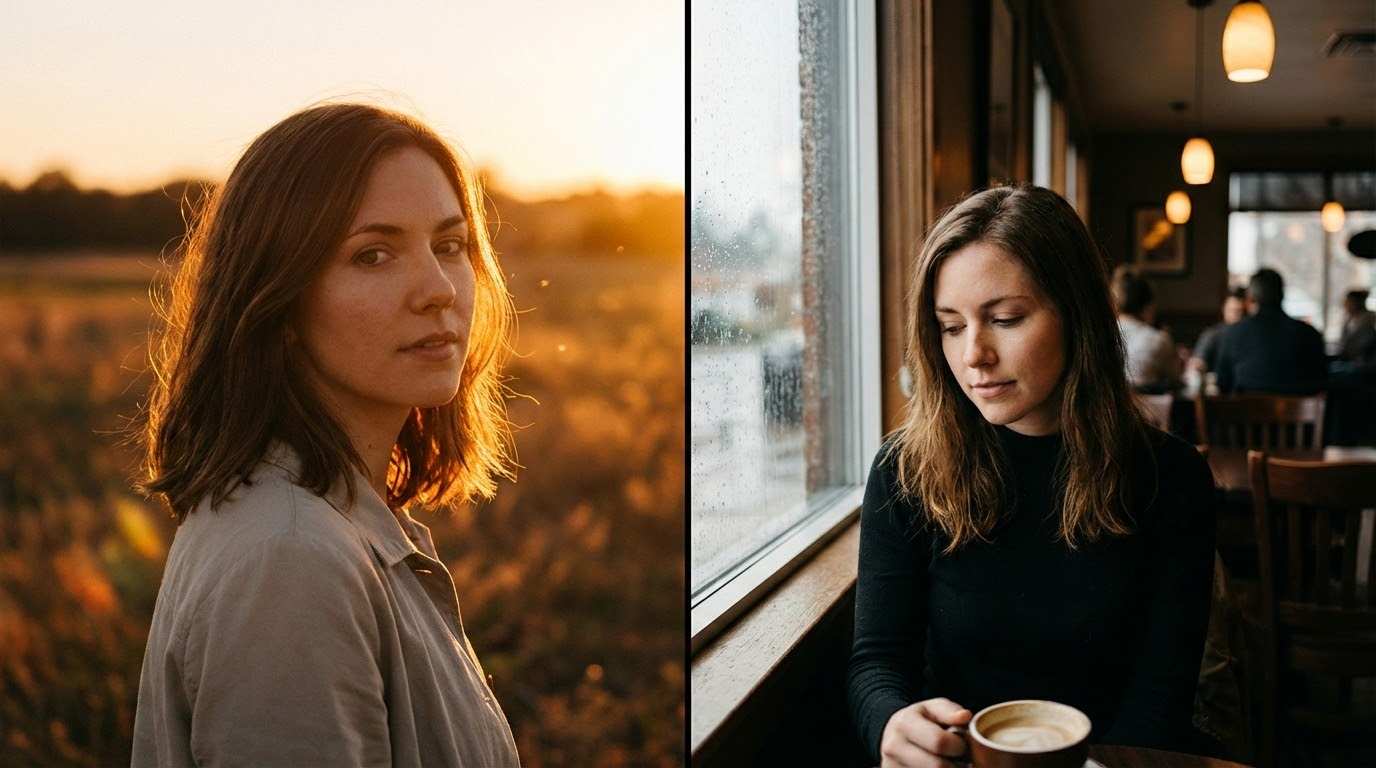 (Consistent Character. Maintain 100% facial accuracy across different lighting environments.)
3. Photorealistic Lighting and Environmental Blending
One of the biggest giveaways of amateur AI art is the "sticker effect"—where a subject looks like they were pasted onto a background with no regard for the lighting.
The GPT Image 1.5 high fidelity engine introduces a physics-based understanding of light. If you place a character in a neon-lit cyberpunk city, their skin will reflect the pink and blue hues. If you place them in a dense forest, as shown in our example, the dappled sunlight filters through the leaves and lands naturally on their shoulders.
This ability to blend the subject with the environment is what truly separates ChatGPT Image latest high fidelity results from older models. It understands that light is not static; it interacts with every object in the scene.
How to Write Prompts for High Fidelity
To get the most out of GPT Image 1.5 high fidelity on SuperMaker, you need to speak its language. The model is smart, but it rewards specificity. Here are a few tips to elevate your prompts:
- Focus on Lighting: Instead of just saying "a photo of a woman," try "cinematic lighting, soft sunlight filtering through trees, rim light on hair." The high-fidelity engine excels at rendering complex lighting scenarios.
- Define the Camera: Use terms like "shot on 35mm lens," "f/1.8 aperture," or "depth of field." This tells the AI to treat the image like a photograph, focusing on the subject and blurring the background naturally.
- Describe Texture: Use words like "detailed," "intricate," "grain," or "sharp focus."
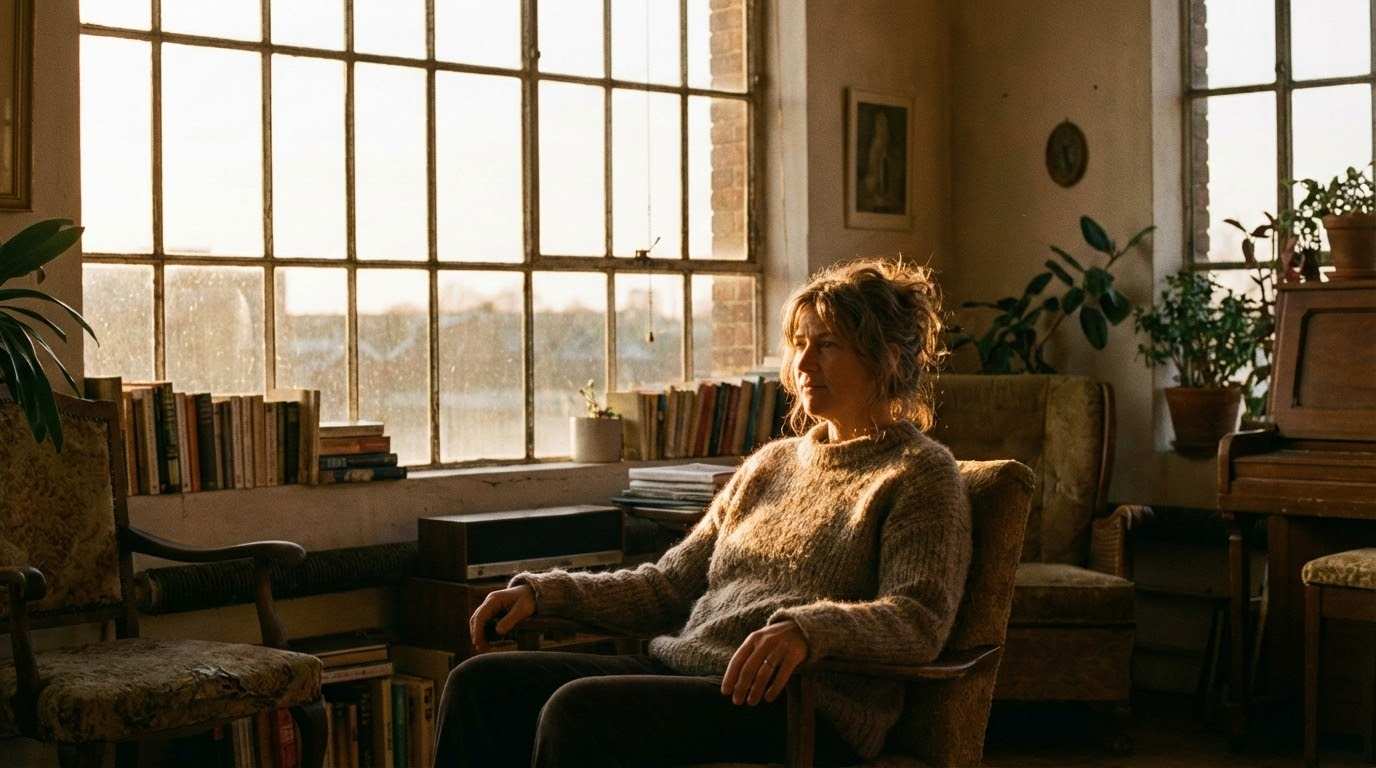 (No More "Sticker Effect." See how natural light wraps around the subject and interacts with the atmosphere, blending them seamlessly into the environment.)
How to Use GPT Image 1.5 on SuperMaker
Getting started with high-fidelity generation is straightforward. The dashboard is built to minimize friction while maximizing control. Here is the step-by-step workflow:
- Go to the Generator: Navigate to "GPT Image 1.5" on SuperMaker.
- Input Your Vision: Type your description in the Prompt box. If you need specific character consistency, upload your reference photo here and ensure your instructions include a note to maintain facial accuracy.
- Choose Your Canvas: Under Image Size, select the aspect ratio that fits your platform (e.g., 16:9 for video thumbnails or 1:1 for social posts).
- Generate: Click the yellow "Generate Image" button. In moments, you will have a studio-quality visual ready for use.
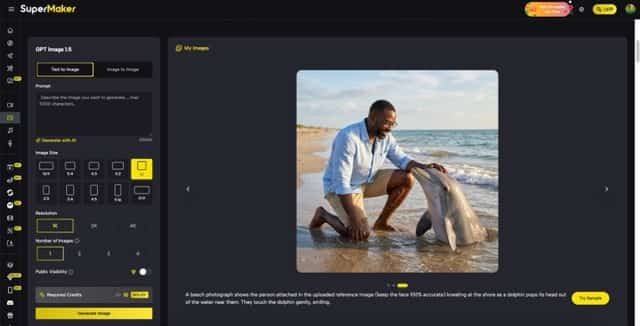 (The SuperMaker GPT Image 1.5 interface.)
Conclusion
The difference between an amateur hobbyist and a professional creator often comes down to the tools they use. You cannot build a consistent brand or a high-end portfolio if you are constantly fighting against your software’s limitations.
GPT Image 1.5 removes those barriers. It combines the ease of a chat interface with the rigor of a professional design suite. It is no longer about just generating an image; it is about executing a vision.
Don’t settle for distorted faces or low-quality drafts. It is time to create work that stands out. Explore the GPT Image 1.5 high fidelity features on SuperMaker today and see the difference for yourself.