How to Use MiniMax H3: A Practical Workflow for Better AI Videos
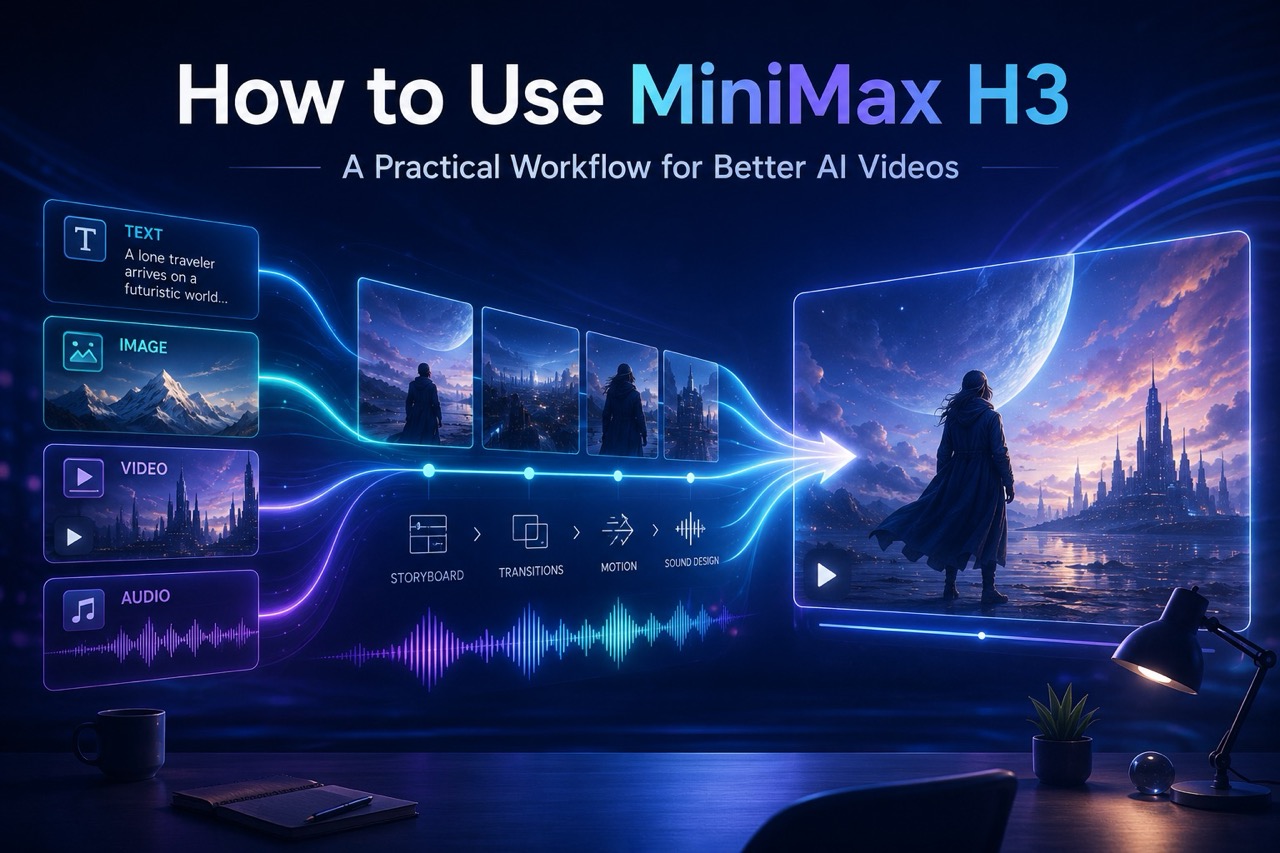
Follow a practical MiniMax H3 workflow for choosing the right inputs, preparing references, writing motion-focused prompts, and refining each result.
Released on July 31, 2026, MiniMax H3 is an open, general-purpose multimodal video model designed to understand text, images, video, and audio within the same creative context. A clip can begin with a written scene, an existing image, opening and ending frames, or references that guide identity, movement, camera behavior, and sound.
That flexibility is valuable, but access to the model is not always straightforward. People who want to run it locally may need to download large model files, configure compatible inference tools, prepare suitable GPU resources, and manage a technical workflow before testing a single idea. MiniMax H3 is a 33-billion-parameter model, and local deployment can require substantial computing resources.
SuperMaker removes that barrier by making MiniMax H3 available through a browser-based workflow. Users can upload their materials, enter a prompt, choose the available video settings, and generate videos online without building a local environment.
Once the technical setup is out of the way, the important decisions become creative: what the video should accomplish, which details must remain recognizable, what each reference should control, and how the first result should be improved. This guide turns those decisions into a practical MiniMax H3 workflow that creators can follow from the initial idea to a more controlled final video.
What Makes the MiniMax H3 Video Model Different?
MiniMax H3 works with unified multimodal context. Text can describe the scene, an image can establish a character or product, a reference video can demonstrate movement or camera behavior, and audio can guide voice, rhythm, effects, or atmosphere.
Its generation modes include text-to-video, first- or last-frame image-to-video, first-and-last-frame generation, and reference-based generation using combinations of images, video, audio, and text. The model can produce videos from 4 to 15 seconds at 24 FPS, with native stereo audio and multiple landscape, square, and vertical aspect ratios. Its complete workflow also supports output up to 2K.
For creators, the useful difference is not simply the number of supported inputs. It is the ability to give each input a separate responsibility.
A character image can answer, “What should this person look like?” A motion reference can answer, “How should the body move?” An audio clip can provide pacing or sound direction, while the prompt explains how all those elements should work together in a new scene.
This approach can make a detailed creative brief easier to communicate. However, more materials do not automatically produce more control. The final result still depends on giving every input a clear purpose and avoiding references that point in conflicting directions.

From an Open Model to a Practical Creation Process
Open model weights are useful for researchers, developers, and technical teams that want to study the system or build their own generation pipeline. Most everyday creators have a different goal: they want to turn an idea, image, product reference, or motion example into a usable video.
SuperMaker organizes that task around familiar creative actions. Its MiniMax H3 page offers Text to Video, Image to Video, and Reference to Video modes, together with prompt input, several aspect ratios, a 15-second duration option, and 768P or 2K output choices.
The following process focuses on the decisions that influence the video itself rather than the infrastructure running behind it.
How to Use MiniMax H3 on SuperMaker
Step 1: Define One Clear Video Goal
Before choosing an input mode, decide what the clip is supposed to accomplish.
Short AI videos are easier to direct when they contain one dominant visual event. A clear goal might be:
A cyclist stops beneath a glowing sign, looks toward the camera, and smiles as rain falls around her.
This sentence identifies the subject, setting, main action, and ending moment. Compare it with:
Create an exciting cinematic cyberpunk video.
The second version suggests a style, but it does not explain what should happen.
Before generating, answer four questions:
- Who or what is the main visual focus?
- What is the most important action?
- How should the camera reveal that action?
- What should the viewer see or hear at the end?
One main action and one supporting change are often enough for a short clip. A product can rotate while light moves across its surface. A character can approach a doorway and pause. A flower can open as the camera moves closer.
Trying to include a chase, transformation, location change, dialogue exchange, and product reveal in one short video can make every event less readable.
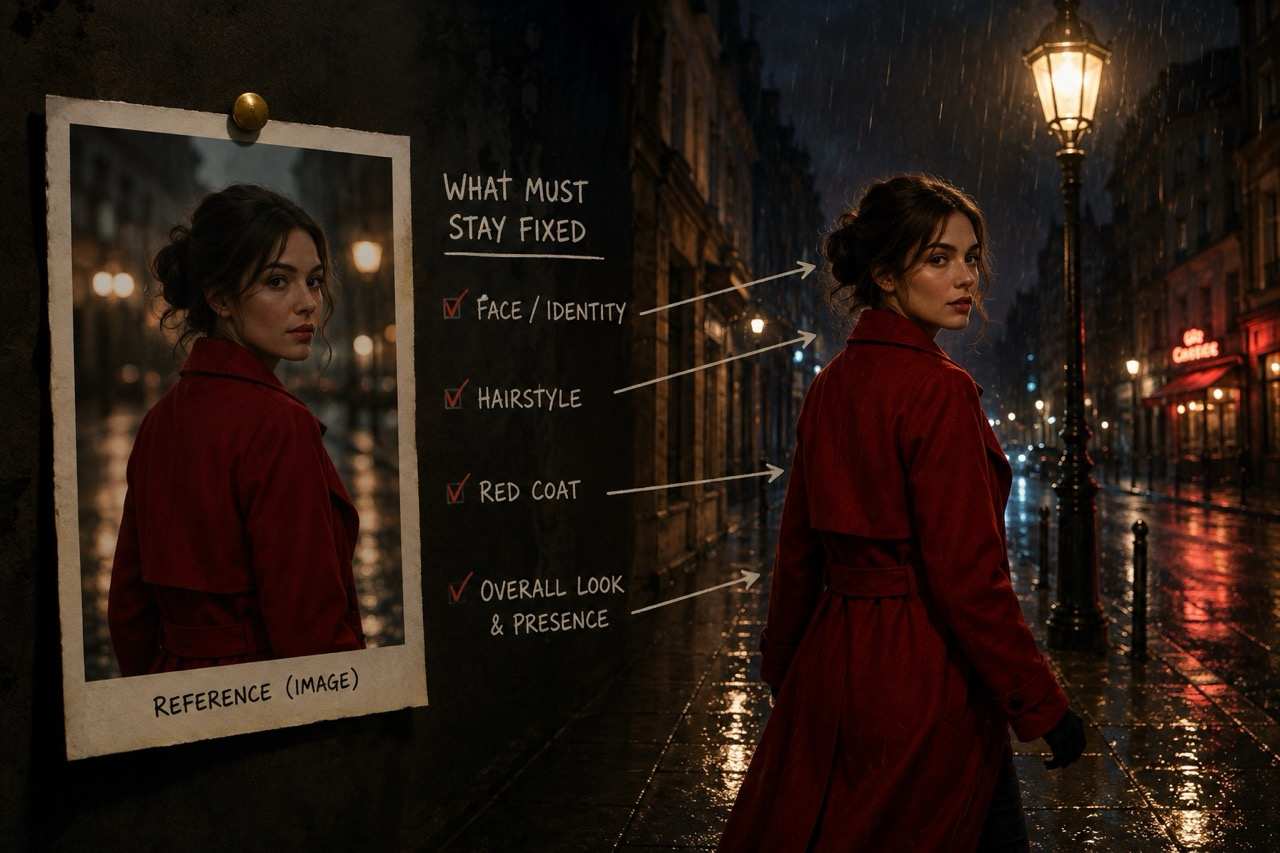
Step 2: Decide What Must Stay Fixed
The right starting input depends on which part of the final video must remain under control.
| What must remain controlled? | Best starting input | Prompt priority |
|---|---|---|
| Nothing specific; only the general idea matters | Text | Subject, action, setting, camera, and sound |
| A person, product, design, or composition | Image | Motion, timing, continuity, and camera |
| Both the opening and ending composition | First and last frames | The transition between the two frames |
| Motion, camera behavior, voice, style, or rhythm | Reference materials | The role assigned to each reference |
Start With Text When Exact Appearance Does Not Matter
Text to Video works well when variation is acceptable and you do not need to preserve a particular face, product, outfit, or composition.
Because there is no visual anchor, the prompt must describe the complete shot.
Weak prompt:
A beautiful cinematic street at dawn, highly detailed and realistic.
Stronger prompt:
At dawn, a red tram moves slowly through a narrow street after rain. The camera tracks beside it at window height as warm interior lights reflect across the wet pavement. A cyclist crosses the foreground near the end. Soft wheel noise and a distant bell.
The stronger version includes movement, camera direction, an ending beat, and sound. It describes an event rather than a still image.
Start With an Image When Appearance Must Remain Recognizable
Use Image to Video when the uploaded visual already contains the character, product, design, style, or opening composition you want.
The image should answer:
What should the video look like?
The prompt should answer:
What should happen next?
For example:
The woman slowly turns toward the window, raises the cup to her lips, and pauses as sunlight moves across the table. The camera makes a gentle push-in. Keep her face, hairstyle, white coat, cup, and room layout unchanged.
Avoid redescribing every visible detail. More importantly, do not ask for changes that conflict with the uploaded image. If the character is wearing a white coat, requesting a red leather jacket and a different hairstyle makes it harder to preserve the original appearance.
Use First and Last Frames When the Ending Matters
First-and-last-frame generation is useful when the shot must arrive at a specific final composition.
It can work well for:
- Product reveals
- Before-and-after changes
- Character transformations
- Lighting transitions
- Planned ending poses
- Camera moves with a fixed landing point
The two frames should have a believable relationship. A closed package and the same package opened on the same table create a logical transition. A close-up portrait followed by an unrelated landscape does not.
The prompt should describe the missing middle:
The package rotates slowly as the side panels unfold. The camera lowers slightly while the inner product rises into view. End on the exact front-facing composition shown in the final frame.
MiniMax H3 supports zero, one, or two image inputs in its FL2VA workflow, covering text-to-video, first- or last-frame generation, and first-and-last-frame generation.
Add References Only When They Provide Specific Control
Reference materials are useful when appearance alone is not enough. A video can demonstrate body movement or camera behavior, while audio can establish voice, rhythm, effects, or atmosphere.
Before uploading a reference, define its job:
- Character image: preserve identity and clothing
- Product image: preserve shape, color, and branding
- Motion video: guide the action pattern
- Camera reference: guide framing or camera movement
- Audio reference: guide voice, timing, or mood
Then state the relationship clearly:
Keep the character from the uploaded image, follow the body movement from the reference video, and use the audio only to guide the pacing.
Use the smallest number of references needed to communicate the idea. MiniMax H3 supports multiple images, videos, and audio clips in its reference workflow, but the available input limit is not a recommendation to fill every slot.
Step 3: Prepare Only the Materials You Need
Open the MiniMax H3 video generator and select the mode that matches your starting material.
For image inputs, choose files with a clear subject and readable details. Leave enough space around a person or product for the intended motion. Heavily compressed images, blocked faces, unclear product details, and crowded backgrounds can introduce unnecessary ambiguity.
For a motion reference, use a clip that shows the complete action from beginning to end. A reference that starts after the movement is already underway may not clearly communicate how the action should begin.
For audio, choose a clean example that represents one clear purpose, such as a voice, rhythm, ambience, or sound effect. Avoid files filled with unrelated speech or background noise.
Before adding any material, complete this sentence:
This reference is needed because it controls ______.
When the answer is vague, the file may not contribute useful information.
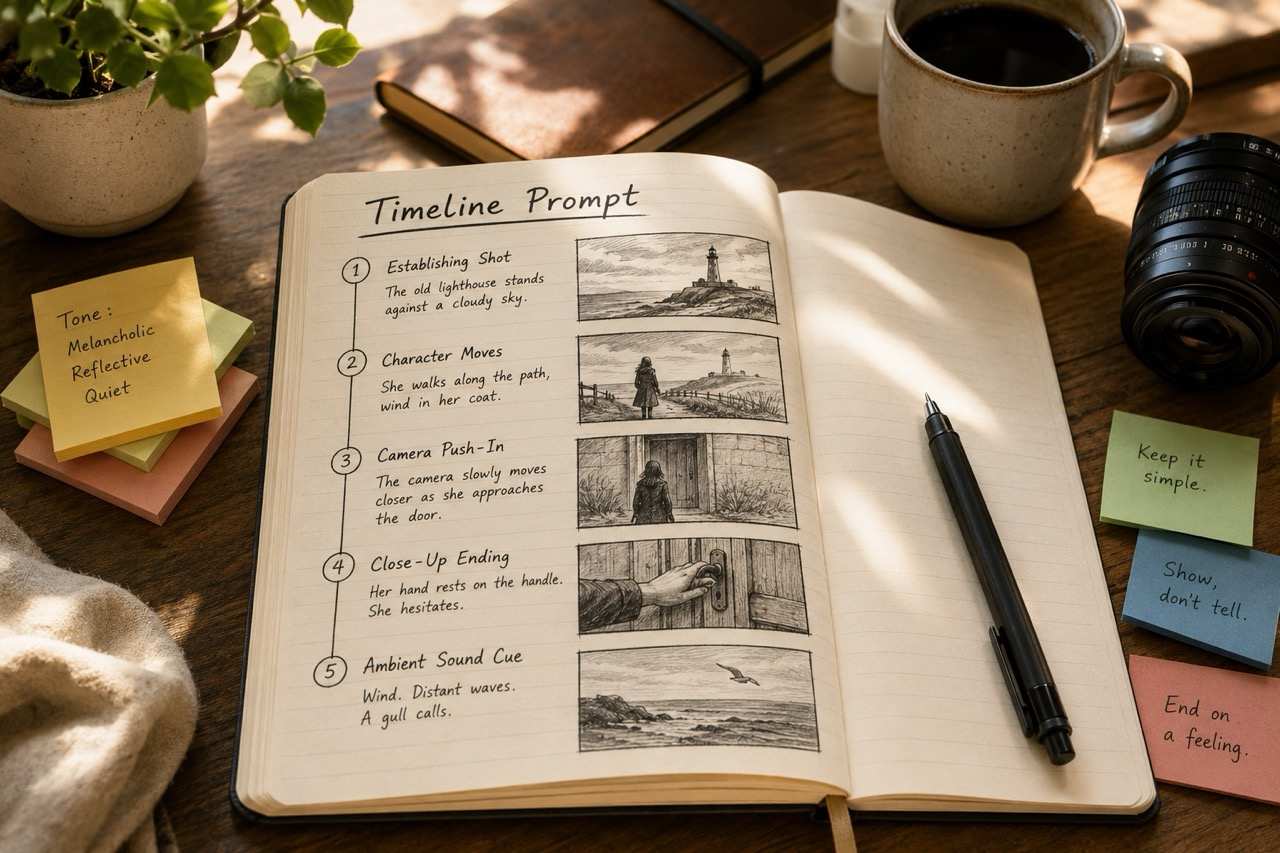
Step 4: Write the Prompt as a Timeline
A practical MiniMax H3 prompt should describe how the scene develops over time.
Use this order:
Subject and setting → opening state → main action → camera behavior → ending state → continuity → sound
For example:
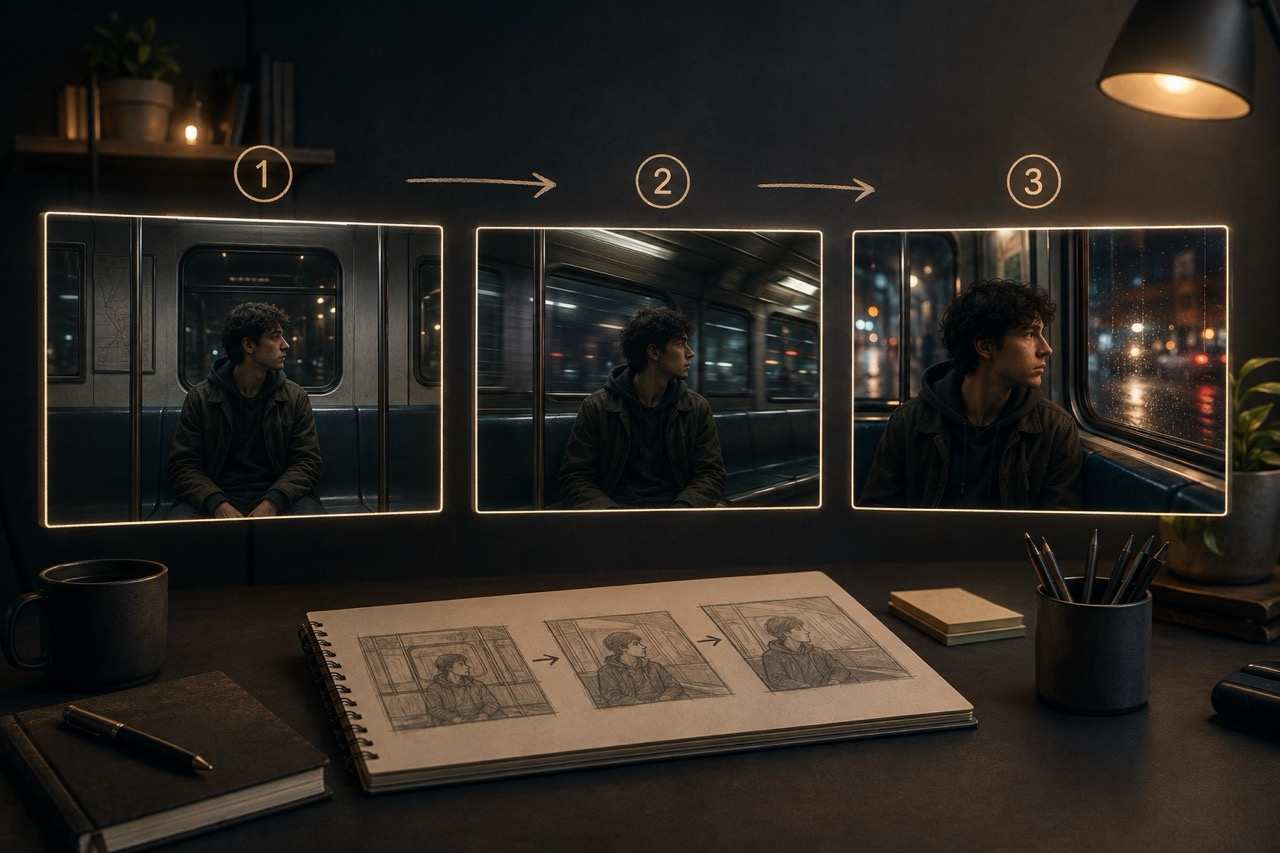
In a quiet subway carriage at night, the young man from the character reference sits beside the window. He looks up as tunnel lights flash across his face, then slowly turns toward the empty seat opposite him. The camera moves from a medium side view into a close-up. Keep his face, dark coat, and the seat layout consistent. Low train rumble and one soft notification sound near the end.
This works because every sentence contributes to the same audiovisual event.
Chronological phrases can make the sequence easier to understand:
- At first
- Then
- As this happens
- Near the end
- Finally
- The shot ends with
Avoid treating the prompt as a list of disconnected visual keywords. Terms such as “cinematic,” “realistic,” and “high quality” may describe a general look, but they do not tell the model what should move or how the shot should progress.
Step 5: Review the Full Audiovisual Result
Do not judge a video from one attractive frame. Watch it from beginning to end with sound enabled.
Review five areas:
- Subject: Does the person or object remain recognizable?
- Motion: Is the main action clear and understandable?
- Camera: Does the framing support the action?
- Continuity: Do clothing, objects, lighting, and spatial relationships remain coherent?
- Audio: Do dialogue, effects, ambience, and music match visible events?
Identify the largest problem first. That issue should become the focus of the next generation.
A Reusable MiniMax H3 Prompt Formula
A useful prompt does not need to be extremely long. It needs to make timing, action, and relationships clear.
[Subject and fixed traits] in [setting]. At first, [opening state]. Then, [main action in clear order]. The camera [movement and framing]. End with [final visual beat]. Keep [identity, objects, layout, or style] consistent. Audio: [dialogue, ambience, effects, or music with timing].
1. Product Video Example
A matte-black wireless speaker stands on a dark stone table. At first, it is seen in silhouette. A narrow light sweeps from left to right, revealing the grille and controls as the camera makes a slow half-circle. End on a centered close-up with a soft blue status light. Preserve the proportions and logo placement. Audio: a low electronic pulse and one clean bass note during the reveal.
2. Character Video Example
The illustrated fox explorer stands at the entrance to a glowing cave. It raises the lantern, takes three careful steps forward, and looks up as tiny lights awaken across the ceiling. The camera follows from a low rear angle, then tilts upward. Keep the fox’s face, clothing, lantern, and illustration style unchanged. Audio: footsteps, distant water drops, and a gentle shimmer.
3. Social Video Example
In a bright kitchen, a creator places a plain cupcake on the counter. With one hand gesture, colorful frosting spirals onto it and fruit pieces land on top. The vertical camera moves closer during the transformation and ends with the cupcake filling the frame. Audio: light pop sounds synchronized with each topping and a short upbeat finish.
Refine One Variable at a Time
Treat the first generation as a draft.
When the subject looks correct but the action is weak, preserve the appearance instructions and rewrite only the movement. When the motion works but the camera is distracting, simplify the camera direction. When the visuals are strong but the sound feels crowded, reduce the audio brief.
Useful revisions include:
- Change “walks forward” to “takes three slow steps toward the door.”
- Replace “dynamic cinematic camera” with “slow push-in from a medium shot to a close-up.”
- Add an ending beat: “End with her holding the letter beside the window.”
- Protect fixed details: “Keep the face, green coat, bicycle, and street layout unchanged.”
- Remove secondary actions that compete with the main event.
- Connect sound to a visible moment: “A metal click plays when the case opens.”
Avoid rewriting the entire prompt after one disappointing result. When several major instructions change at the same time, it becomes difficult to identify what improved or weakened the output.
Common MiniMax H3 Problems and Practical Fixes
1. The Video Looks Like a Moving Photograph
The prompt probably describes appearance without giving the subject a meaningful action.
Add a clear movement, visible progression, one purposeful camera move, and a defined ending state.
2. The Subject Changes During the Shot
Remove text that conflicts with the source image and name the details that must remain fixed.
When identity consistency matters, avoid unnecessary extreme rotations, heavy obstruction, or rapid pose changes.
3. The Camera Moves Too Much
Use one primary camera action.
A short clip rarely needs an orbit, zoom, handheld shake, rack focus, and whip pan at the same time. Select the movement that best reveals the main event.
4. The References Seem to Be Ignored
State what each source controls:
Follow the body movement from the reference video, but preserve the character’s face and clothing from the uploaded image.
Do not make the model infer why a reference was included.
5. The Sound Does Not Match the Action
Connect important sounds to visible events. Separate dialogue, ambience, effects, and background music rather than combining them in one vague instruction.
A focused sound plan is easier to synchronize than a long list of unrelated audio requests.
MiniMax H3 Online, Hugging Face, or ComfyUI?
Different access methods suit different goals.
1. What MiniMax H3 Hugging Face Is For
The official MiniMax H3 Hugging Face repository is mainly useful to developers and researchers who need model weights, checkpoint details, prompt documentation, deployment instructions, and license information.
Users searching for MiniMax H3 open source access should note that the model is distributed under the MiniMax H3 Community License. The released H3-Base checkpoints can be deployed locally, but some parts of the complete hosted workflow are not included in the open release.
2. When a MiniMax H3 ComfyUI Workflow Makes Sense
A MiniMax H3 ComfyUI workflow is intended for technical users who prefer a node-based pipeline and want deeper control over how the model, references, and processing stages connect.
ComfyUI can support text-to-video and reference-to-video workflows, but that flexibility comes with additional setup. An online workflow is more direct for creators whose primary goal is generating and refining videos rather than assembling an inference pipeline.
3. Understanding MiniMax H3 Size and VRAM
The MiniMax H3 size is 33 billion parameters, and local deployment may require multiple GPUs depending on the selected configuration.
There is no single universal MiniMax H3 VRAM figure. Memory needs can vary according to the checkpoint, precision, inference framework, quantization, offloading method, output duration, and resolution.
For creators who do not need local infrastructure control, using MiniMax H3 online avoids having to evaluate those hardware and deployment variables.
Final Checklist Before Generating
Before submitting a MiniMax H3 video, confirm that:
- The clip has one primary purpose.
- The selected input mode matches the source material.
- You have identified what must remain fixed.
- Every reference has one defined role.
- The prompt describes movement in chronological order.
- The camera movement is limited and readable.
- Fixed identity or product details are clearly named.
- The final visual moment is defined.
- Sound is connected to visible events.
- The aspect ratio matches the publishing destination.
The most effective MiniMax H3 workflow is not the one with the most files or the longest prompt. It is the one that establishes a clear hierarchy: what must remain recognizable, what should move, how the camera should present it, and what the viewer should hear.
Start with one focused idea, provide only the materials needed to express it, and improve one variable at a time. With that process in place, creators can use MiniMax H3 online to move from an initial concept to a more coherent and controlled AI video.