More AI Image Generators
Explore our collection of specialized AI image generators designed for different creative needs and styles


Minecraft Pixel Art for Your Next Creative Idea
Turn your photo into block-style artwork in three simple steps
Turn your favorite photo into Minecraft Pixel Art with Supermaker. Upload a portrait, landscape, or object photo, choose a style, then generate and download your artwork. Explore AI pixel art built around a familiar subject, and review the result before using it for a creator graphic, illustration, or visual reference.
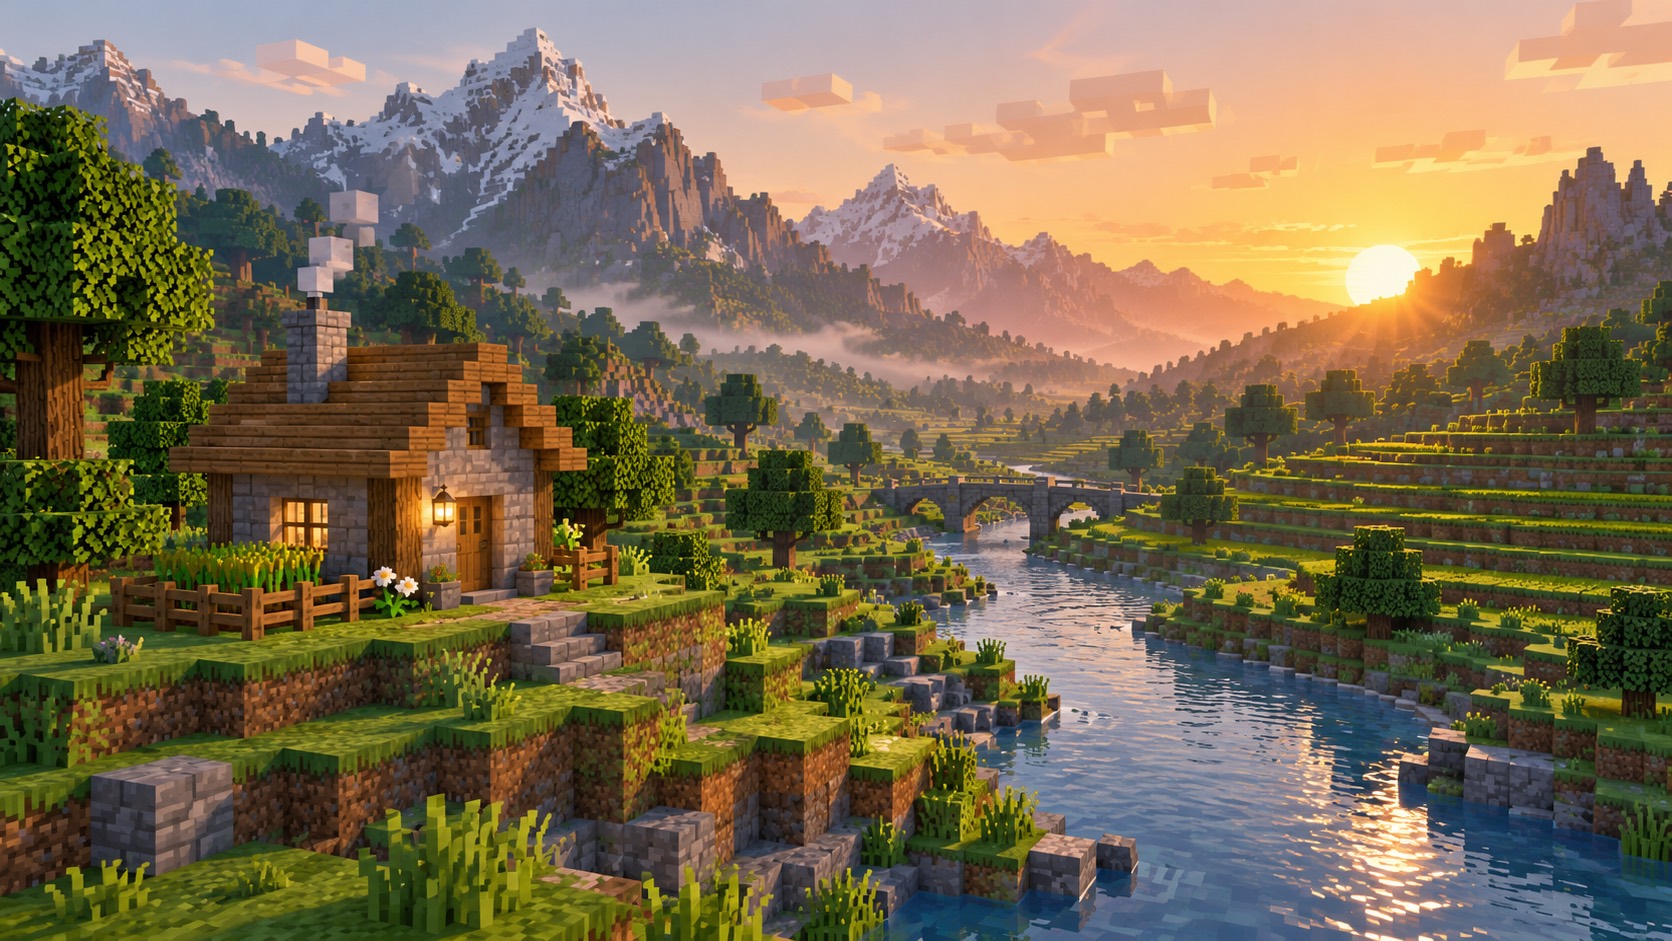
Create Minecraft Pixel Art in Three Simple Steps
Your Minecraft Pixel Art starts with a photo you already have. Upload it, select the style you want, and generate your finished image for download. This straightforward workflow helps you explore AI pixel art without writing a detailed prompt or choosing an image model.

Upload Your Photo
Upload the photo you want to transform into Minecraft Pixel Art. Choose a clear portrait, landscape, or object image with a recognizable subject. A simple composition gives your AI pixel art a stronger visual starting point.

Choose Your Style
Select an available style for your Minecraft Pixel Art. Consider how its colors and block-like shapes suit your photo and project. Keep the main subject in mind when choosing the visual treatment you want to explore.

Generate and Download
Generate your Minecraft Pixel Art, then check the subject, shapes, and overall appearance. Download the image when the result suits your project. Review AI pixel art at its intended display size before adding it to a layout or presentation.
Best AI Image Tools for Creative Projects
Explore creative tools for image, learn tips and tricks, and see how AI can be your assistant in turning concepts into finished projects.
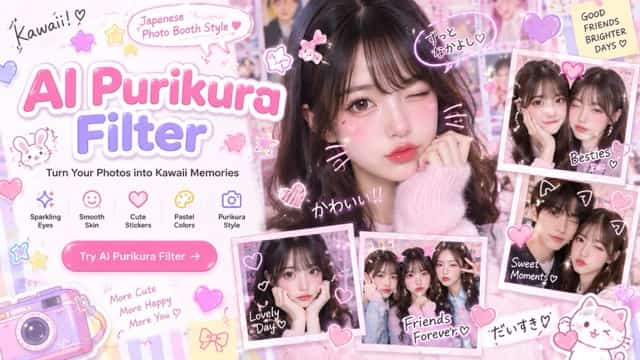


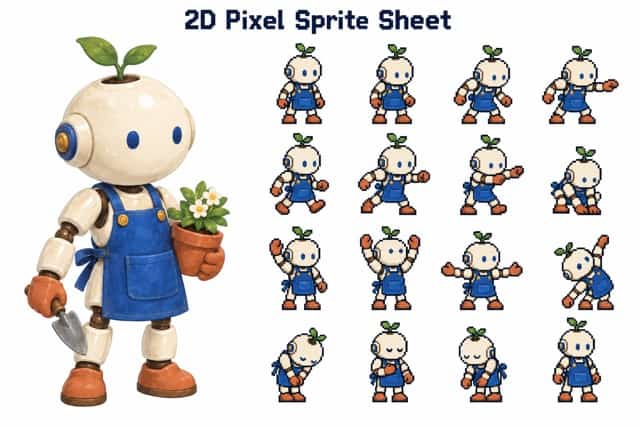
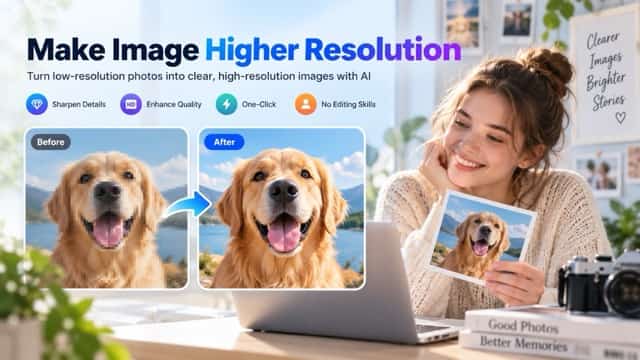
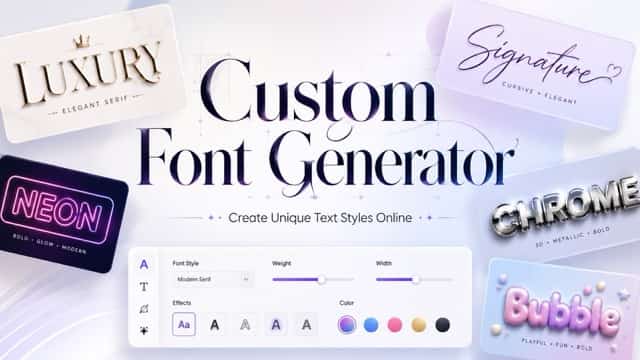




Transform Your Minecraft Pixel Art From a Familiar Photo
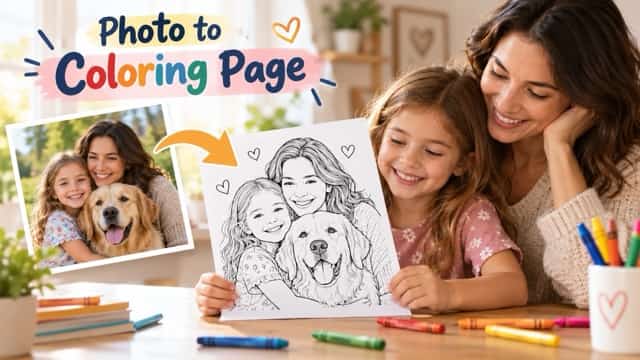
Give a familiar photo a different visual character with Minecraft Pixel Art. Supermaker follows a photo-first workflow: upload your image, choose a style, then generate and download. Start with a subject that matters to you and compare the result with your intended use. The illustrations here show creative directions for AI pixel art.
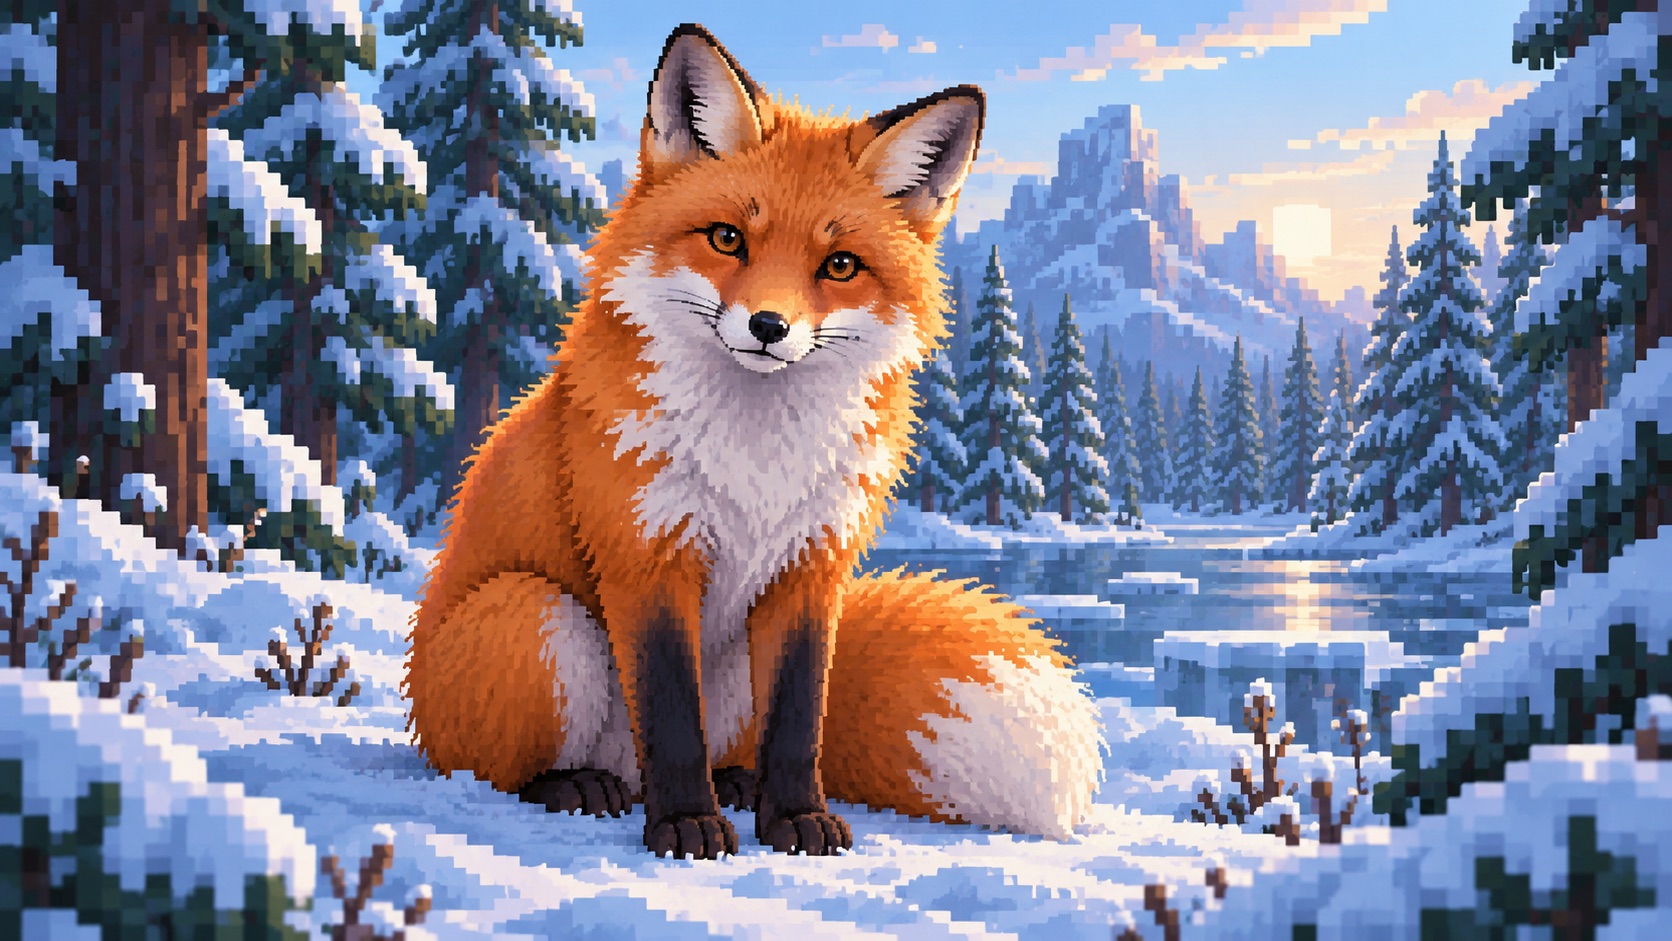
Start With a Photo That Tells Your Story
Begin Minecraft Pixel Art with a photo of a favorite place, a pet, or an object you recognize. Choose an image whose subject stands out from the background. A clear starting photo helps you evaluate the transformation after generation. For Minecraft Pixel Art that reads well, consider a closer crop when the original scene feels crowded. Your photo supplies the visual starting point, so you can explore AI pixel art without building a scene from a written prompt.
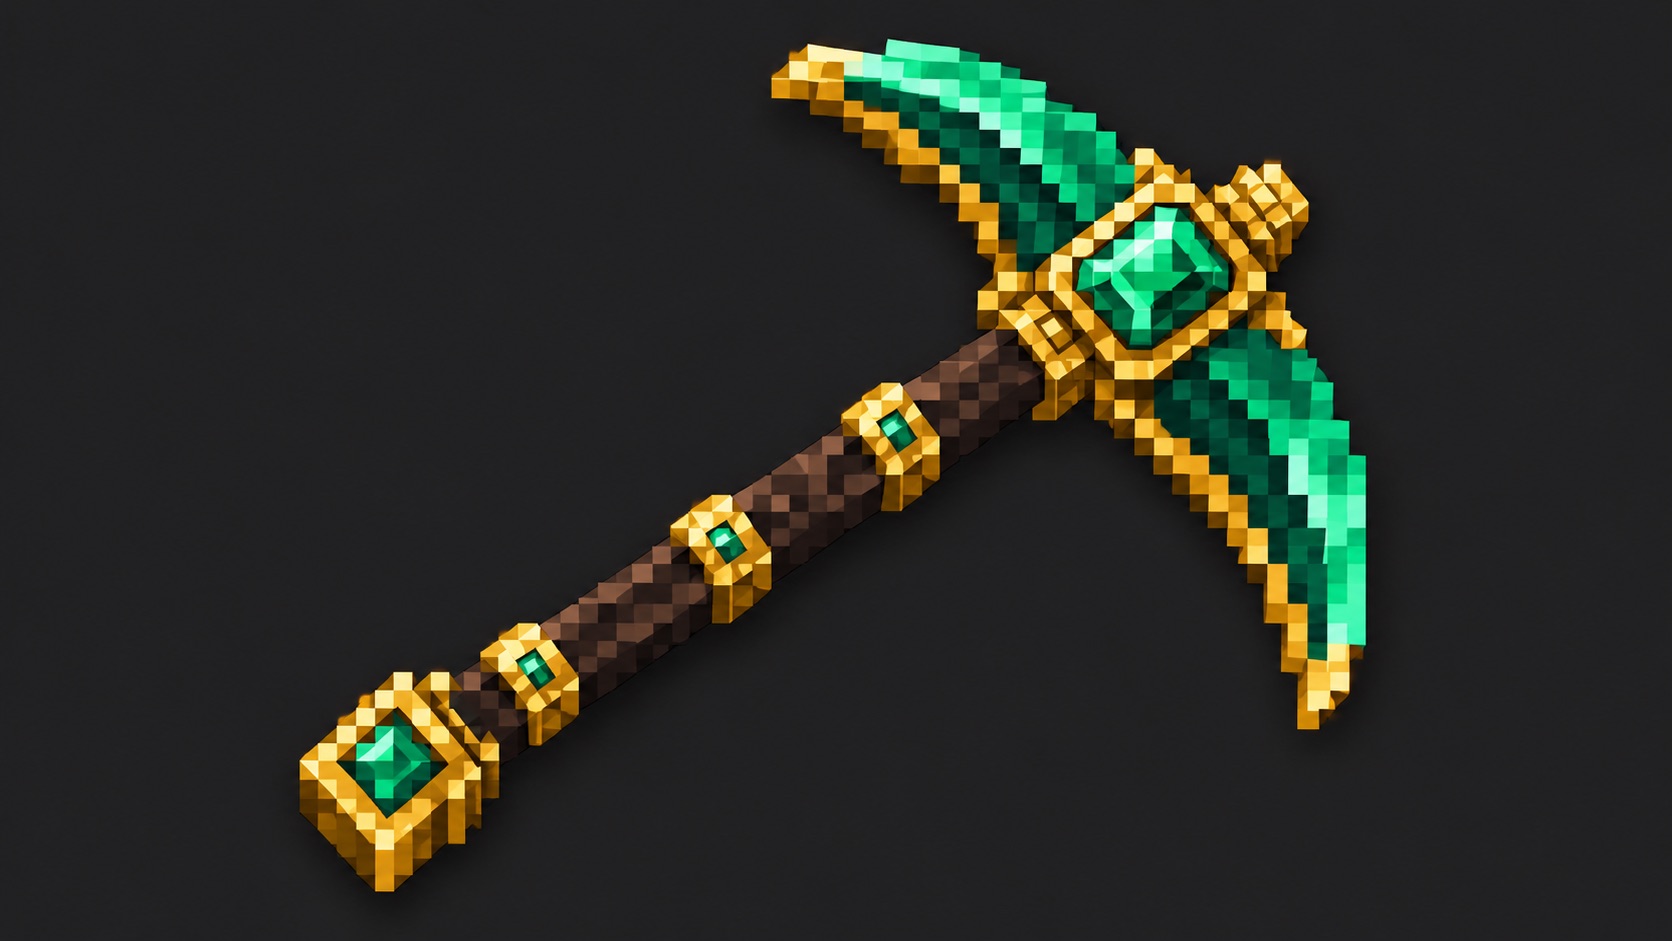
Keep Your Subject at the Center of the Idea
Your uploaded photo gives Minecraft Pixel Art a subject and composition to work from. Start with an image that communicates what you want people to notice, whether that is a face, an animal, or a landmark. After choosing a style and generating Minecraft Pixel Art, compare the result with your original. Inspect the outline, proportions, and background. Photo-based transformation can reinterpret details, so check your AI pixel art carefully before using it where faithful reproduction of the subject matters.
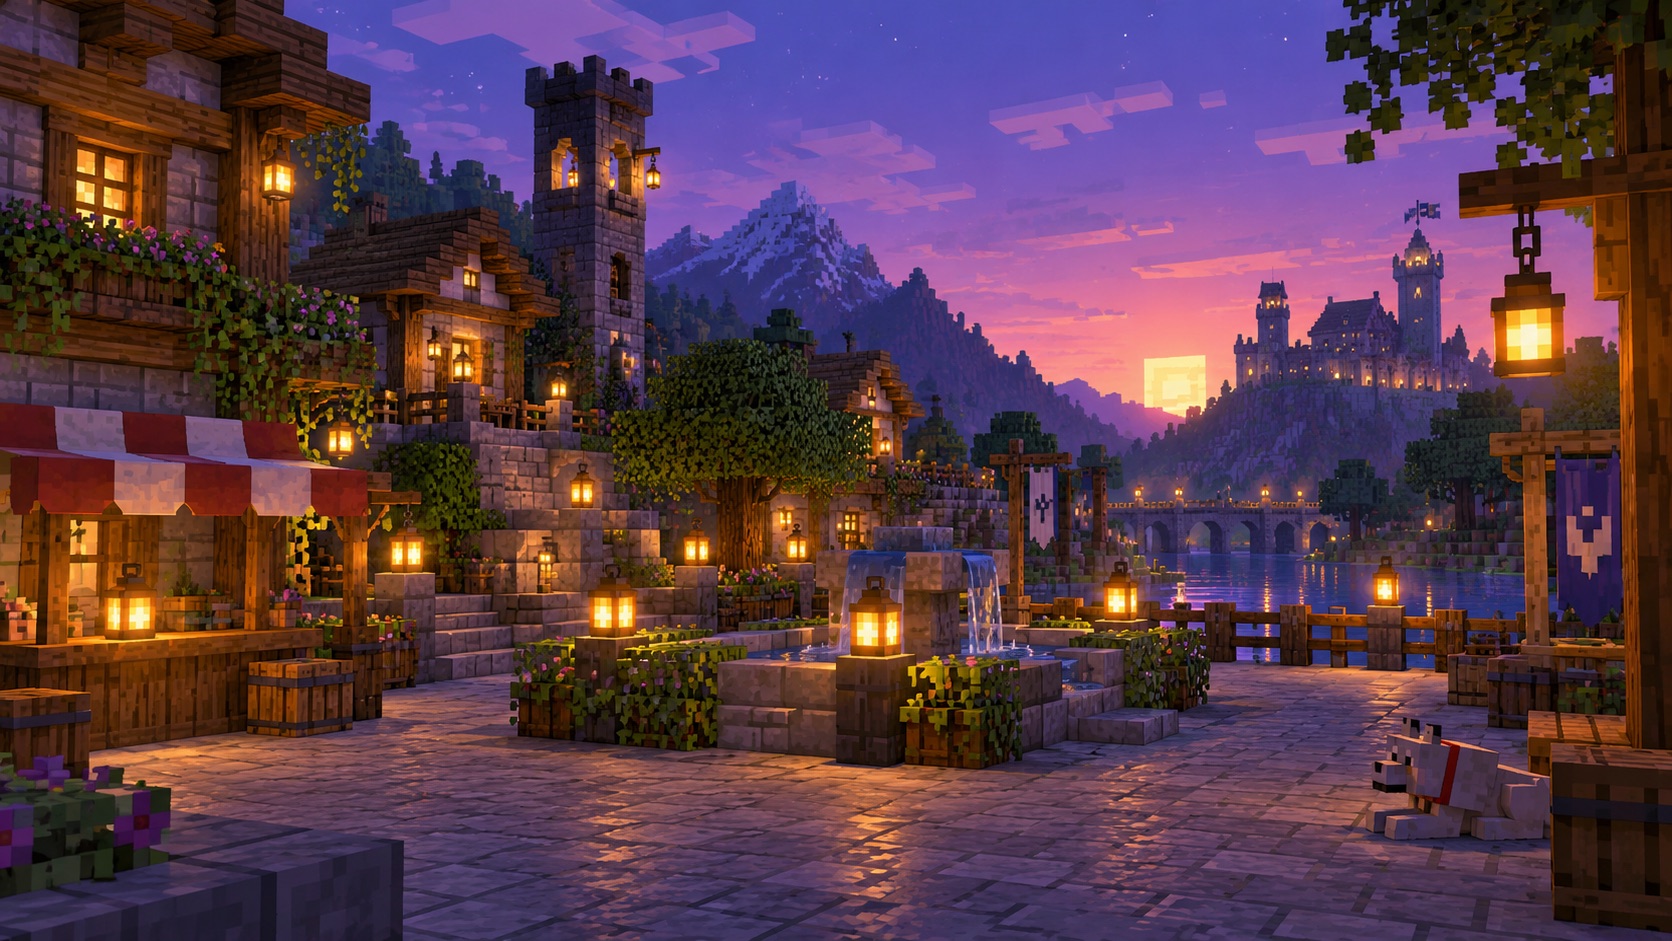
Choose a Style That Fits Your Visual Direction
Select an available style that suits your Minecraft Pixel Art project. Think about whether the treatment makes your subject easier to recognize and whether its overall appearance fits the mood you want. Style selection is part of the photo-to-image workflow; it does not establish a verified Minecraft block-palette selector. Once your Minecraft Pixel Art is generated, review the color relationships and square forms. For AI pixel art used as building inspiration, map the resulting colors to actual materials separately.
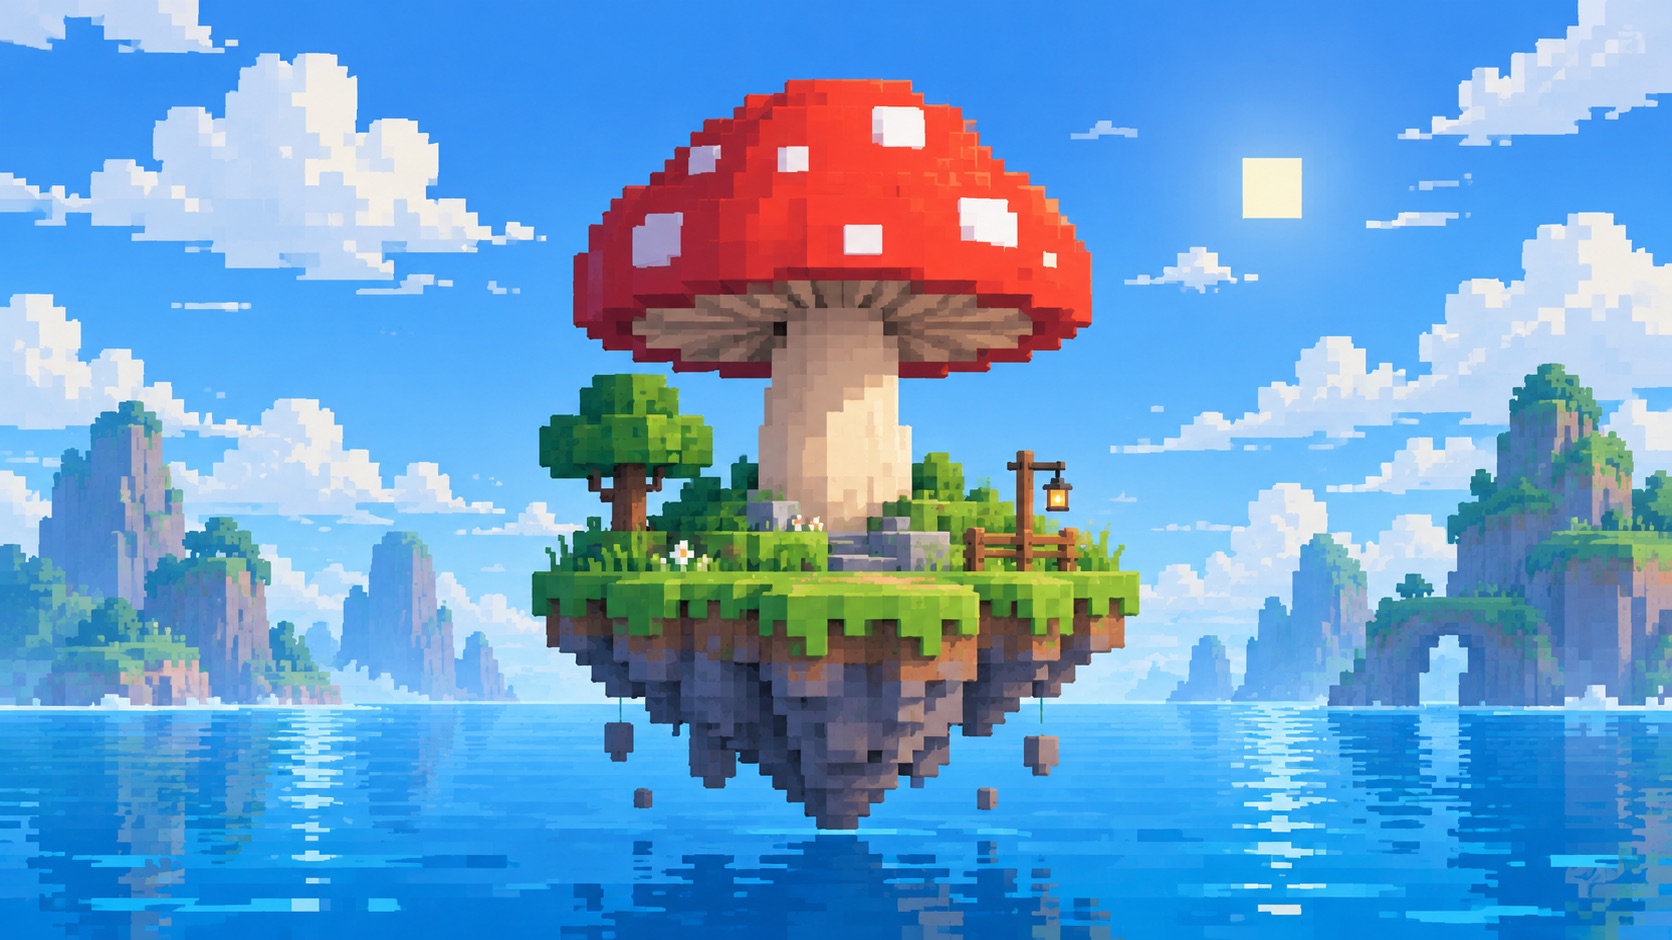
Download Your Image and Prepare the Final Layout
Generate Minecraft Pixel Art after uploading your photo and choosing a style, then download the image you want to use. Inspect the picture at the size your audience will see. A creator graphic may need room for a title, while an icon needs a clear central subject. Prepare any final crop or layout in your usual image editor. Keep your downloaded Minecraft Pixel Art as the source artwork, and use a separate copy when adapting AI pixel art for different projects.
Minecraft Pixel Art Ideas for Different Creative Audiences
Minecraft Pixel Art can give an existing photo a new role, from a creator graphic to a classroom example. Choose the photo and style around your audience and viewing context. These uses emphasize visual inspiration and communication; they do not assume AI pixel art is ready for direct import into a game.

Content Creators Planning a Recognizable Channel Visual
Create Minecraft Pixel Art from a photo of a memorable place, a recognizable object, or a scene connected to your next video. Select a style, generate the image, and inspect the subject at thumbnail size. Add your title in editing software after downloading. Use AI pixel art to support the visual story, and make sure your Minecraft Pixel Art remains readable in the final layout.

Builders Exploring a Mural Before Choosing Materials
Use Minecraft Pixel Art to explore a mural based on a favorite photo before committing to a wall or floor project. Choose a style, generate the image, and review its silhouette. Treat the download as a concept reference. A converter or manual plan is still needed for exact block positions and material counts. Separating AI pixel art from construction keeps the Minecraft Pixel Art project manageable.
Educators Explaining Color, Contrast, and Visual Structure
Prepare Minecraft Pixel Art examples from photos of a flower, an animal, or a small house. Select a style and download the result for a lesson about simplifying images. Ask students which details remain recognizable and which could be removed. AI pixel art provides material for critique rather than an answer key. Review the Minecraft Pixel Art before presenting it, particularly when discussing consistent square shapes.

Designers Testing a Style for a Creative Brief
Explore Minecraft Pixel Art from an existing photo for a moodboard, illustration, or concept presentation. Use the same source photo when comparing available styles, so the discussion stays focused. Keep that photo alongside the downloaded image to explain the transformation. AI pixel art can communicate an early direction, while finishing work remains a separate decision. Present Minecraft Pixel Art concepts as drafts when sharing them with collaborators.
Sample Creative Briefs From Different Points of View
The following fictional sample comments illustrate possible Minecraft Pixel Art goals. Names and roles are invented for these examples; they are not customer endorsements or evidence of results achieved with Supermaker.
Example: I would upload a photo of a woodland cabin, choose a style, and generate Minecraft Pixel Art for a video graphic. After downloading, I would check the subject at thumbnail size and add my title in editing software.
Example: I would turn a favorite landscape photo into Minecraft Pixel Art before discussing a mural concept with our group. The downloaded image would guide the color discussion, while a separate build plan would handle blocks and material quantities.
Example: I would upload an animal photo and choose a style for a Minecraft Pixel Art classroom example. Learners could compare the original with the downloaded artwork and explain which shapes helped them recognize the subject.
Example: For a concept board, I would generate Minecraft Pixel Art from one landscape photo using a selected style. I would keep the original beside the download so collaborators could discuss how the transformation changed the scene.
Example: I would begin a Minecraft Pixel Art exercise by asking participants to upload a familiar object photo. Choosing a style and reviewing the downloaded AI pixel art together could help them discuss shape, color, and visual clarity.
Minecraft Pixel Art Questions to Resolve Before Creating
Good Minecraft Pixel Art begins with realistic expectations about the output. These answers explain how to direct AI pixel art, evaluate the picture, and distinguish an illustration from technical assets that require a separate planning or editing workflow.
Create Minecraft Pixel Art in three steps: upload a photo, choose an available style, then generate and download the image. Your photo supplies the subject and starting composition, while the selected style guides its visual treatment. Choose a clear image of a person, animal, place, or object you want to reinterpret. Inspect the result before placing it in a final layout, especially if small details matter. Treat Minecraft Pixel Art as a generated visual transformation rather than a guaranteed technical game asset. AI pixel art may need additional editing or conversion before it fits a specific destination.
Choose from the styles available in the tool after uploading your photo. Consider the subject, the mood you want, and where the downloaded image will appear. For Minecraft Pixel Art, look at how the selected treatment changes color, outlines, and block-like forms. A style that works for a landscape may emphasize different details when applied to a portrait. Generate the image and judge it in the context of your project. If you explore another style, use the same photo for a useful comparison. Minecraft Pixel Art depends on both source-image clarity and visual treatment; review AI pixel art before finalizing your choice.
Start with a clear photo whose main subject is easy to identify. Portraits, pets, buildings, landscapes, and everyday objects offer different directions for Minecraft Pixel Art. Good contrast between the subject and background makes the transformation easier to assess. If your photo contains many small objects, consider preparing a simpler crop before uploading it. Choose a style, generate the image, and compare important details with the original. Treat Minecraft Pixel Art as an interpretation of your photo rather than an exact reproduction. Review AI pixel art carefully when a specific facial feature, pose, or object detail needs to remain recognizable.
This Minecraft Pixel Art workflow creates visual concepts through Supermaker image generation. We have not verified a block-list, schematic, or Litematica export in the reviewed product workflow. If you want to construct a mural in your world, take the selected picture into a dedicated image-to-block planning tool or plan it manually. That step must account for palette, dimensions, edition, and available materials. Review the converter output before beginning a build. Minecraft Pixel Art illustration and construction planning solve different needs: AI pixel art can establish the idea, while a build-specific workflow determines which blocks go where.
Do not assume Minecraft Pixel Art uses an exact logical grid just because it looks pixelated. A photo transformed with a selected style can contain uneven squares, blended edges, or details that need manual cleanup. Start with a clear subject and inspect the generated image after downloading. Exact sprite dimensions, texture atlases, transparency, and palette compliance require checks in a suitable image editor. Keep the downloaded picture while preparing any edited version. Use Minecraft Pixel Art for visual exploration, and verify AI pixel art separately against your destination requirements before treating it as a finished technical asset.
After generation, download your image and prepare it for the project you have in mind. Minecraft Pixel Art can serve as a creator graphic, a classroom illustration, a moodboard image, or a visual reference for a planned build. Check the subject at its intended display size, then make any needed crop or title overlay in your usual editor. Keep the original download so you can create separate versions for different layouts. Judge Minecraft Pixel Art by how clearly it communicates your subject. AI pixel art intended for game textures, block construction, or other technical uses needs additional checks and preparation.
Turn Your Photo Into Minecraft Pixel Art Today
Choose a photo with a clear subject, upload it to Supermaker, and select your preferred style. Generate your Minecraft Pixel Art, inspect the result, and download the image for your project. Review the AI pixel art in its final viewing context before adding text, cropping, or preparing a separate build plan.