


More AI Image Generators
Explore our collection of specialized AI image generators designed for different creative needs and styles











Eye Bag Remover For Naturally Refreshed Portraits
Soften Under-Eye Shadows While Keeping Your Expression
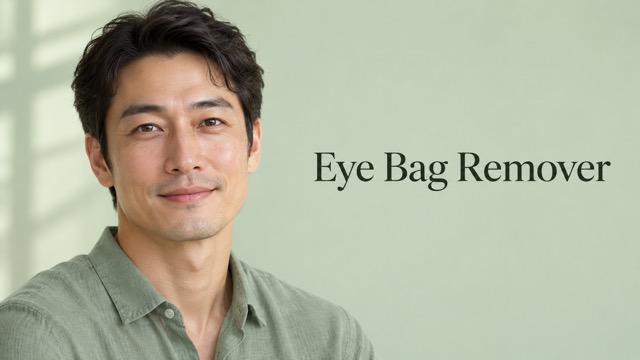
Keep the portrait you like, with less emphasis on tired-looking eyes. Eye bag remover targets visible under-eye puffiness and shadows in an uploaded photo, with instructions to preserve your facial features, expression, and surrounding skin texture. Use eye bag remover when the pose and lighting already work but the under-eye area feels distracting. Start with a clear portrait and review the result for a subtle, believable finish.
How To Use Eye Bag Remover
Bring a clear portrait to eye bag remover, generate a targeted edit, and review the details before saving. The preset instructions keep the workflow focused on the under-eye area.

Upload Your Photo
Choose a sharp portrait with the eyes and surrounding skin clearly visible. Upload one image to eye bag remover, preferably without sunglasses, heavy filters, or strong motion blur. A close enough face gives the model useful detail for a more considered correction.
Click Generate
Run eye bag remover with the built-in retouching instructions. You do not need to write a prompt or paint a mask. The edit aims to soften visible bags and related shadows while keeping the original expression, eye shape, and overall photographic character.

Download Your Photo
Inspect the eye bag remover result beside your original image. Check eyelid edges, skin texture, and the transition into the cheeks, then download the version you prefer. Keep your original file so you can compare the edit again before sharing or printing.
Best AI Image Tools for Creative Projects
Explore creative tools for image, learn tips and tricks, and see how AI can be your assistant in turning concepts into finished projects.




















What Eye Bag Remover Focuses On
A useful portrait edit should feel balanced at normal viewing size and hold up when inspected closely. Eye bag remover uses targeted instructions to address the under-eye area without requesting a complete facial makeover.
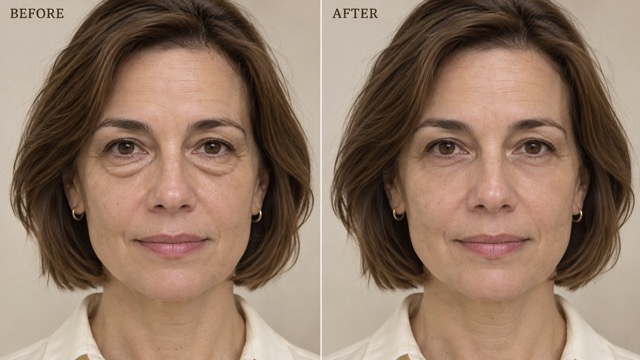
Softer Under-Eye Contours
Visible bags can create a pronounced boundary between the lower eyelid and the cheek, especially in directional light. Eye bag remover asks the model to soften that boundary while retaining believable facial depth. The goal is a gentler transition, not a flat patch of skin. With eye bag remover, you can review an alternative version of your portrait without manually drawing selections around each eye or rebuilding the entire face.
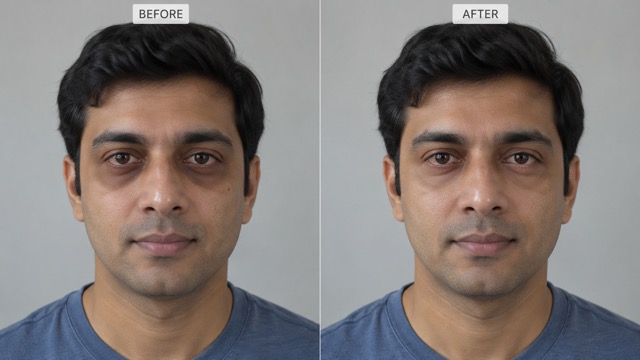
Balanced Under-Eye Shadows
A shadow beneath the eyes may appear stronger in a photograph than you expected when taking it. Eye bag remover targets those local tonal differences while asking the model to respect the original lighting. Keeping some natural shading helps the eyes remain grounded in the face. Use eye bag remover to explore a lighter under-eye appearance, then compare both sides for consistent brightness before choosing the final image.
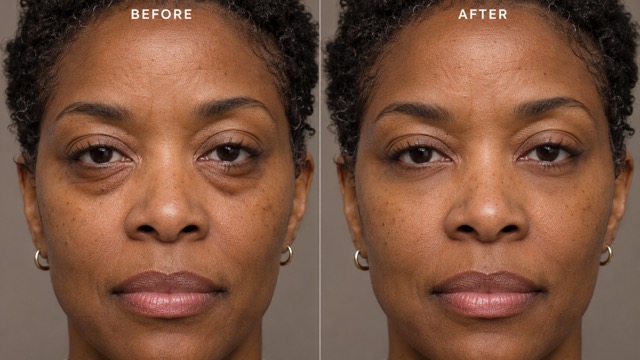
Natural Skin Texture
Skin does not need to look perfectly smooth to make a strong portrait. Eye bag remover includes instructions to retain pores, fine detail, and the natural transition into surrounding skin. This helps define a restrained editing goal instead of requesting an overall beauty filter. Inspect the result closely: a successful eye bag remover edit should leave enough texture for the corrected area to feel consistent with the forehead and cheeks.
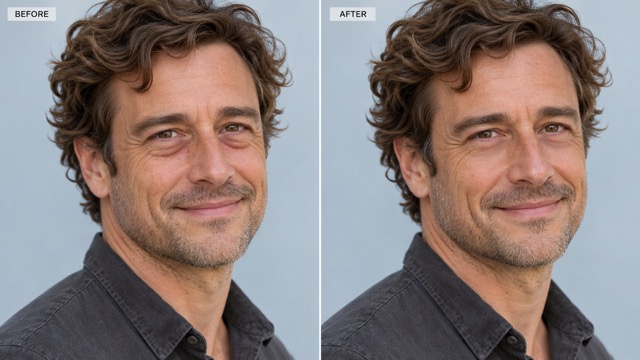
Recognizable Facial Features
Your eye shape, gaze, and expression are central to a recognizable photo. Eye bag remover is configured to preserve those details, along with the hairstyle, clothing, composition, and background. It requests a local correction rather than a new identity or younger face. For any eye bag remover result, compare the original smile and eyelid contours before using it as a professional portrait or a personal profile picture.
Where Eye Bag Remover Fits Your Photos
Different portraits call for different levels of restraint. Eye bag remover gives you a focused starting point for pictures where the expression already works and only the under-eye appearance needs attention.

Professional Profiles And Team Pages
Job seekers, consultants, and small business owners can use eye bag remover when updating an existing headshot for a biography or team page. A clear portrait with a confident expression is often worth keeping. Review the edited version at the size it will appear online, looking for a refreshed appearance that remains recognizable to colleagues and clients.

Creator Portraits And Social Posts
Creators often choose a photo for its expression, outfit, or composition before noticing a strong under-eye shadow. Eye bag remover offers a focused edit for profile pictures, post covers, and personal introductions. Keep the character of the original shot, then check the final crop so the face still feels natural alongside the rest of your visual content.

Travel Photos And Personal Albums
Travelers and family album makers can try eye bag remover on a favorite portrait taken during a busy day. The setting and expression may matter more than a perfectly rested appearance. A restrained correction can help attention return to the person and the memory, while you retain the original version as part of your photo collection.

Portrait Selection For Client Review
Portrait photographers can use eye bag remover to explore a retouching direction on a selected image before discussing the desired finish with a client. Compare the under-eye detail, overall lighting, and likeness carefully. The useful outcome is a considered candidate for review, with the final level of retouching guided by the subject's preferences and the intended placement.
Portrait Editing Perspectives On Eye Bag Remover
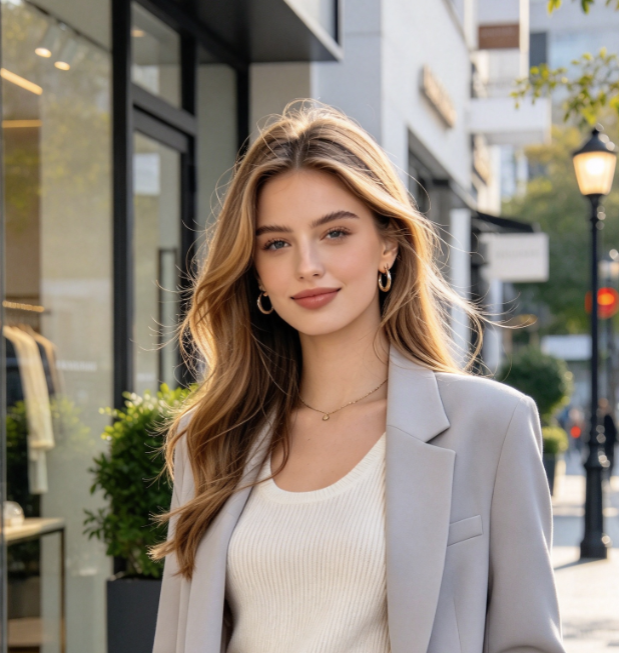
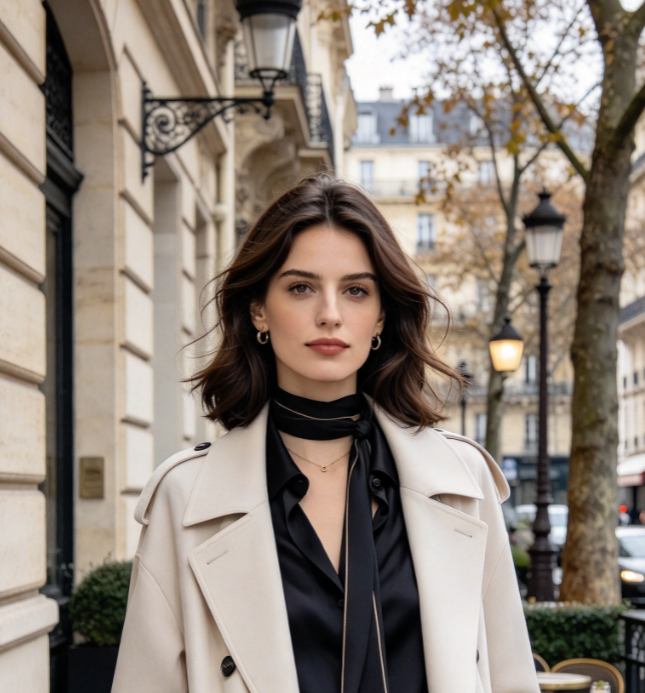
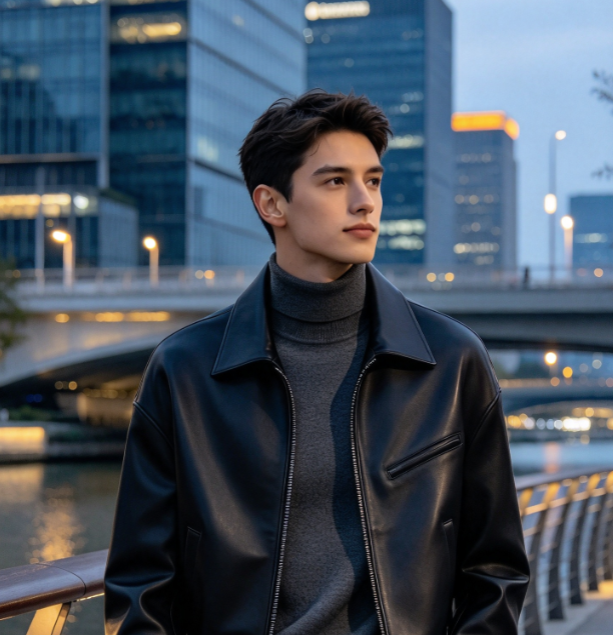
These fictional examples illustrate the kinds of priorities people may bring to eye bag remover: recognizable features, a restrained finish, and a simple way to review a portrait before sharing.
I want my profile photo to look approachable and recognizable. Eye bag remover makes sense to me when the goal is a subtle correction, with my expression still doing the work.
For me, eye bag remover should improve the photo without making every part of my face look polished. Keeping the natural light and small details matters more than a dramatic transformation.
I judge eye bag remover by the transition between the lower eyelid and cheek. A restrained result with believable texture is far more useful for client review than an overly smooth finish.
A straightforward upload and review process suits my occasional headshot updates. Eye bag remover is appealing because I can focus on one concern while keeping the photo's original personality and composition.
My favorite travel portraits are about the place and the moment. With eye bag remover, I would look for a gentle change that keeps the image feeling like that same day.
For a professional portrait, recognition comes first. I would choose an eye bag remover result only when the gaze, expression, and skin still look consistent with the person in the original.

Eye Bag Remover Questions Answered
Understand the editing goal, choose a suitable source photo, and know what to check in the result. These answers explain the eye bag remover workflow before you start your first portrait.
Eye bag remover applies a focused AI editing request to reduce the appearance of bags and shadows beneath the eyes. The built-in instructions prioritize a subtle result while retaining surrounding facial detail. This is a change to the image only; it does not alter your physical appearance or provide a skin treatment.
Start with a clear portrait where the under-eye area is visible and the face occupies enough of the frame to inspect. Avoid heavy blur, very dark exposure, or sunglasses covering the region. Eye bag remover has more usable visual information when lighting, eyelid edges, and surrounding skin are easy to distinguish.
No. This page provides a fixed retouching prompt, so you can upload one portrait and generate without writing instructions. Eye bag remover is configured for a specific under-eye correction. It does not require a manual mask, and the current workflow does not include a separate strength slider or custom prompt field.
The instructions ask the model to preserve your identity, eye shape, gaze, expression, and the rest of the composition. AI edits can still vary, so compare the result with the original. When reviewing eye bag remover output, pay particular attention to eyelids, catchlights, and fine texture rather than judging only the overall brightness.
The preset includes softening shadows associated with the under-eye area as part of the photo edit. Eye bag remover is not a separate diagnostic or skincare tool. Evaluate how the tonal adjustment blends into the cheeks, especially in directional lighting, and prefer a result that retains realistic depth around the eyes.
Compare your edited photo with the original at normal viewing size and then inspect the eye area more closely. Check both eyes, skin texture, makeup edges, and lighting consistency. Download the eye bag remover version that fits your intended use, and keep the source file available for future comparisons or alternative edits.
Try Eye Bag Remover On Your Next Portrait
Start with a photo whose expression and composition you already like. Let eye bag remover create a focused under-eye edit, then compare the details and choose your preferred finish. A thoughtful review helps you keep the personality that made the original image worth saving.